Kelly Parker on Developing Design Ideas

Kelly Parker's wall shelf in walnut burl veneer with sycamore inlay, walnut veneer waterfall edge frieze and solid walnut edge strip. The brackets are made from ebonised sycamore with plain sycamore dowels.
Words and photos: Kelly Parker
I recently finished a demilune top for which I needed a base. I decided I didn’t want legs, but instead wanted to mount my top to the wall using brackets that would complement the top but not overwhelm it.
To help me create the perfect bracket, I turned to a series of design techniques that are guaranteed to give me results. My process involves sketching, modelling, mocking up and prototyping. Although this may sound like a lot of steps and a big time commitment for a one-off object it is a sure-fire way to generate numerous ideas in a short period of time.
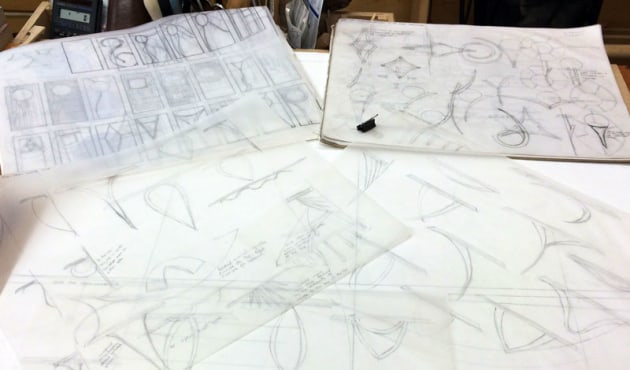
Sketching. The top has walnut burl veneer, sycamore inlay, radial walnut veneer on its waterfall edge and is bordered in solid walnut. It has a lot going on and I didn’t want the bracket to be a distraction. As I sketched, I explored variations. If I drew a design with three elements, what did it look like with one or five elements? If the elements were narrow on the ends
but wide in the centre, what if those proportions were reversed? If planar elements were linear? If they came together at the top? Or the bottom? In this manner I quickly came up with almost 30 sketches.
I sketch on tracing paper and find this advantageous for a couple of reasons. I often have an idea of proportions for an object so I will draw a ‘bounding box’. Then I can overlay my tracing paper on my bounding box and draw within it. Tracing paper also allows you to quickly vary just one element of an object. For example, I could draw a tabletop, then vary the legs and apron using the tracing paper.

Quarter-sized foam core model hot glued to my quarter-sized ‘wall’. The bit that hung down in the front was left out.
Modelling. This helps me quickly see an object in 3D and in a known scale. I use foam core, corrugate or MDF to quickly make quarter-sized models. Eighth-sized is too small to get a feel for the object and half-sized is often quite large and starts to feel like doll furniture.
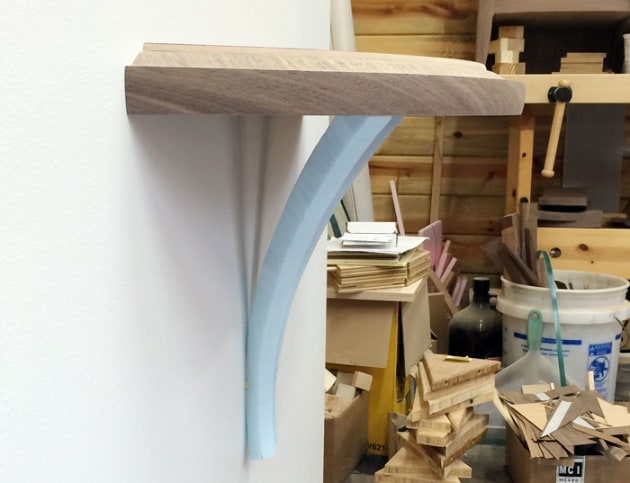
Full sized mockup in rigid foam.
I took my five favourite designs and made foam core models of them. Again, taken in variation, these five ideas gave me about 25 options. If I had five elements, what did it look like if they were the same length? If they got shorter towards the outside? Or curved in towards the wall, or outwards, or met at the bottom or
the top? And so on...
This all goes rather quickly as I connect everything with hot glue. Once I decide on my next variation I dispassionately rip the model apart and hot glue it in the next configuration. I take photographs of every design variation from the front and from the side. Later I can look through the photos objectively and choose the design I’d like to pursue. Plus I have 24 other designs that I can use for a future table!
Mocking up. The next step was to draw the brackets in full scale. I started with the standard drawings and quickly discovered that they gave me no useful information because the parts curved, splayed and tilted. I decided that what would help most was to do a full-sized mockup of the brackets. I used rigid foam for this. It’s inexpensive, easy to cut on the bandsaw and can be quickly shaped. Once I understood my object and the intersection of the parts, I was ready to make a pine prototype.
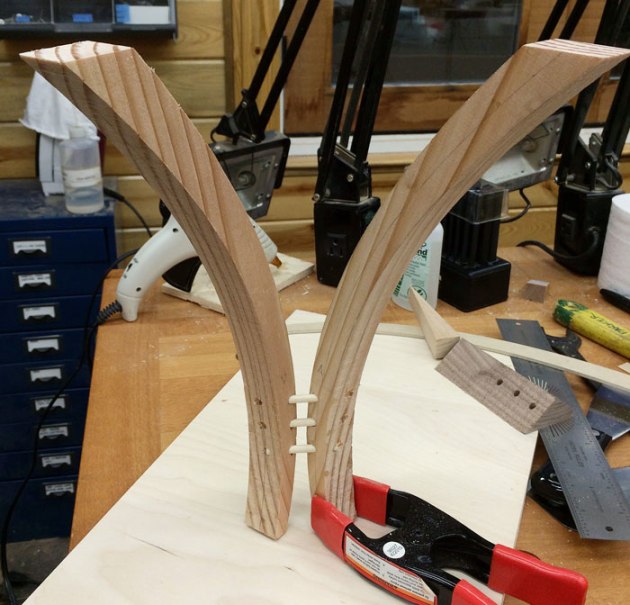
Pine prototype showing dowel detail – still big and chunky as the parts have not been shaped.
Prototyping. This is the phase where I figure out the joinery, problem-solve the build process, make jigs and templates and work through any surprises that might crop up. Since I often work with curved elements, jigs are an essential. They help me hold odd-shaped parts and make machining processes safe and repeatable. Once the tricky joinery was figured out, all that
was left was to shape the parts.
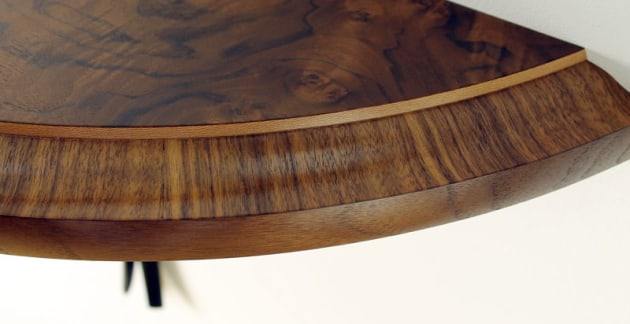
Detail of waterfall edge.
Making it. The final step is to build the object and is now relatively quick and straightforward with little room for error. Jigs that I built for a certain operation may be used again or modified to help hold parts as I shape them or glue up.

Side view of brackets on finished piece.
I have been asked why I spend so much time building jigs that are just going to be used for one project. The fact is, I could not build the object with the level of precision I expect without them. And I think jig building is an essential problem-solving skill woodworkers need to hone, just like drawing or learning to sharpen your chisel.
Kelly Parker is a studio furniture maker and sculptor who lives in Kansas City, Missouri, USA. In the September, 2019 issue #104 of Australian Wood Review she writes about the making of her Triptypch boxes. Learn more about Kelly at www.woodsongstudio.com