


Cut one board, join with two mitres and you have a contemporary and stylish bench seat. By Graham Sands.
Cut from one piece of New Zealand grown macrocarpa this bench seat is the ultimate in simplistic design. A modern and elegant piece of furniture is created with very little joinery. Two mitre joints, that’s all!
The board was cut from a rough sawn slab then run through my bench-top thicknesser. An electric hand planer fitted with 90° guide was then used to joint/finish the edges.
The bench width is 300mm and the thickness is 50mm. I used a sliding compound mitre saw to cut the mitre joints. With a firm hand on your drop saw keep it running straight and true when making the 45? cut. After each cut, check with a straightedge that the joint face is flat in both directions. This is to ensure the mitres come together without gaps. If the straightedge rocks a little or doesn’t contact the surface all the way there are two options. You can either run the saw carefully over the cut edge again, shaving off a small percentage of the blade thickness to correct the cut. The second way is to flatten the joint surface with a hand plane. Ensure the plane is sharp and remove any high spots. A low angle smoothing plane is ideal for this sort of work.
To cut the opposite side of the mitre turn the timber around and cut a V segment out so the grain flows around the outside of the joint. Continuous grain makes for a superior looking piece. Four floating tenons are used to keep the joint together, make sure they are towards the inside corner of the mitre joint.
It is essential to do a dry assembly. Prepare two lengths of timber as temporary spacer bars between the bottoms of the seat legs. Trim them to length so the mitre joints come together without gaps. I have used strap clamps*, however, you could use normal clamps in both directions. If using strap clamps you still may need to use a hammer with block or normal clamps to bring the joints together when gluing so the strap clamps can be
fitted and tensioned to apply final pressure.
This seat is finished with gloss polyurethane, four coats bushed on and sanded after each coat. Then four coats thinned with equal parts of mineral turpentine are wiped on with fine sanding between the coats. With three adults seated, there is no sign of any deflection in the seat despite the large 1500mm span.
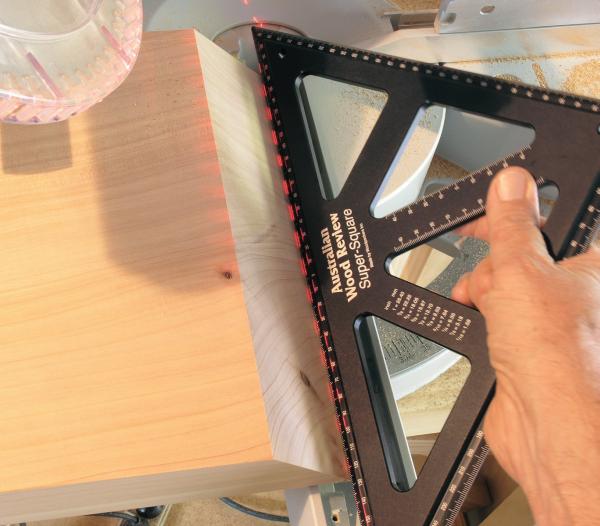
Check the sawn edge is straight and even. The mitre needs to be cut at exactly 45°.
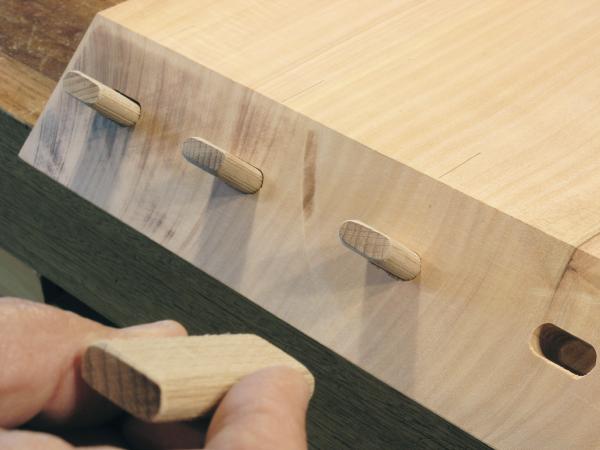
Four floating tenons were used in each mitre. Make sure these are cut cleanly and the tenons are a neat and snug fit.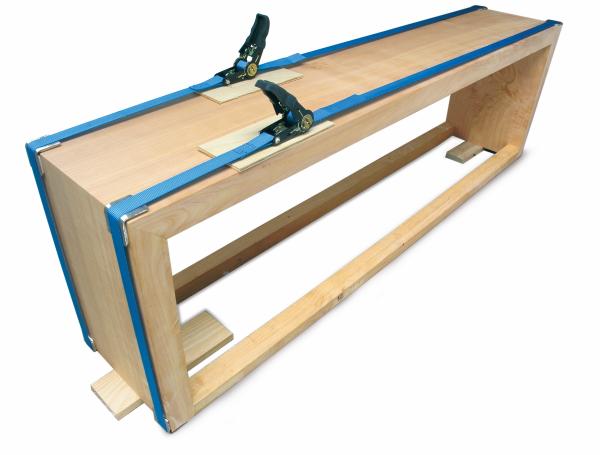
Run a dry test fit first to check everything goes together. Note the two sections of pine that were cut to exact size to brace the legs so the mitres are clamped with even pressure.
Commercial strap clamps are available, however, these are ratchet tie-down straps from hardware suppliers, they come in various sizes and strengths.
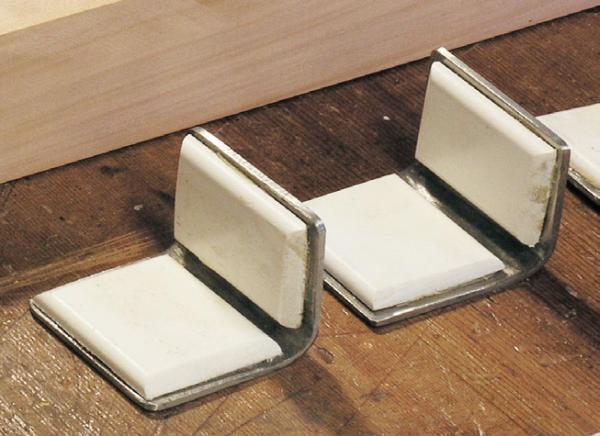
A friend who has a sheet metal bender made me eight stainless steel corner angles with nylon pads to protect work during glue-up.
MACROCARPA
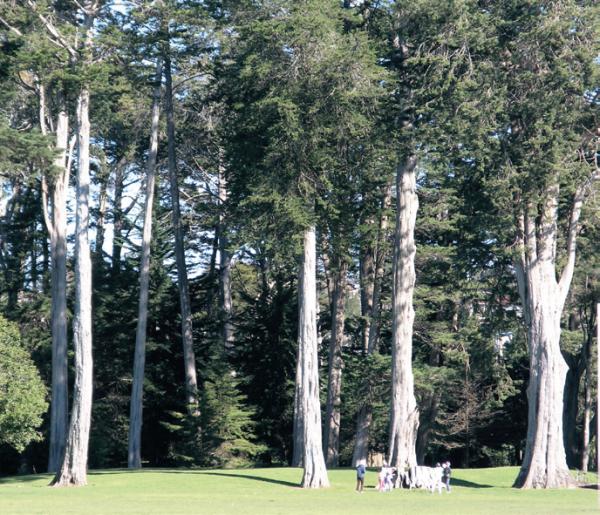
Macrocarpa (Cupressus macrocarpa) aka Monterey cypress is a softwood native to North America, specifically the central coast of California. It is commonly grown in windrows on farms in New Zealand, often to large (over 40 metre) heights and girths (up to three metres in diameter). Especially suitable for outdoor uses macrocarpa is naturally resistant to insect and borer attack. It’s better suited to air-drying as kiln drying frequently produces internal checking. It turns, carves and takes a finish well. It is freely available in slab form and often used for craft and furniture making. The macrocarpa trees shown were photographed by the author in Henderson Park, Waitakere, Auckland.
Photos by Graham Sands