Sharpen in 5 steps
Words and photos: Robert Howard
Here I have tried to make the process of sharpening as simple as I possibly can. Once you have mastered it, I believe you will see that it is not difficult. As with a lot of things, the most difficult part is beginning, and especially beginning with real intent and a determination to succeed.
Give yourself the basic equipment you need. Please do not sabotage your progress right from the beginning by using inadequate equipment, in either quantity or quality. Here is what I consider to be the basic equipment for sharpening chisels and plane blades:
1. Bench grinder
2. White aluminium oxide grinding wheel, Norton 38a 60JVS or equivalent, 25mm wide
3. Grinding wheel dresser, an inexpensive one will do
4. Diamond stone DMT 200 x 75mm coarse
5. Japanese waterstones, 1000 or 1200 grit and 6000 grit
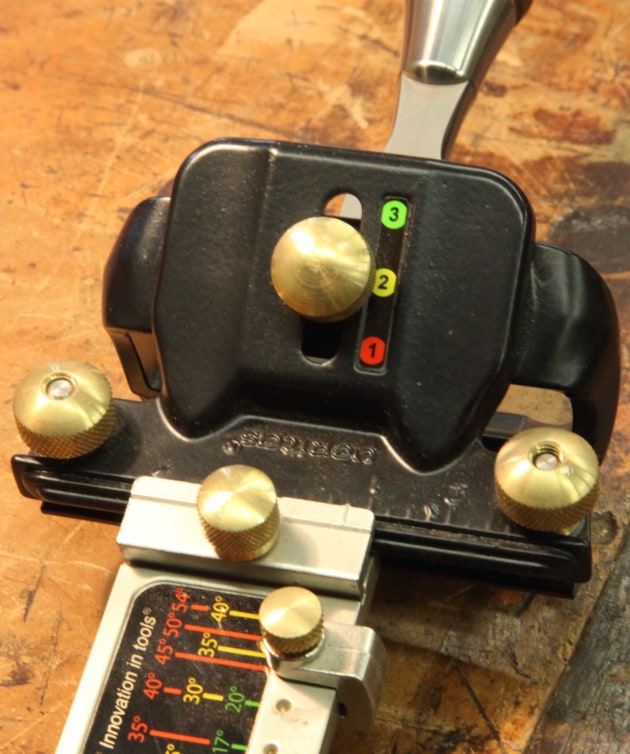
6. Honing guide
7. Angle setting jig, see your honing guide instructions
8. Plate glass strip c.400 x 250mm, 10–12mm thick
9. Wet and dry sandpaper, 180 or 220 grit
10. 10x magnifying glass
The five-step process described below is for sharpening an inexpensive new blade, or a secondhand old blade. The more expensive blades usually allow us to skip the first step.

STEP 1: FLATTEN THE BACK
Flattening backs is where the coarse diamond stone is used to hog the metal away as quickly as possible. Manufacturers will advise not to bear down excessively on the stone. If you do bear down hard, you might rip the diamonds out of the matrix they are embedded in, and shorten the life of your stone.

STEP 2: POLISH THE BACK
Once the back is flat, work your way through the stones, from coarse to fine in order to bring the back surface to a high polish. Take all necessary care and time to do this properly. If done right, it only needs to be done once, and you need only work this back surface on your finest stone from then on.
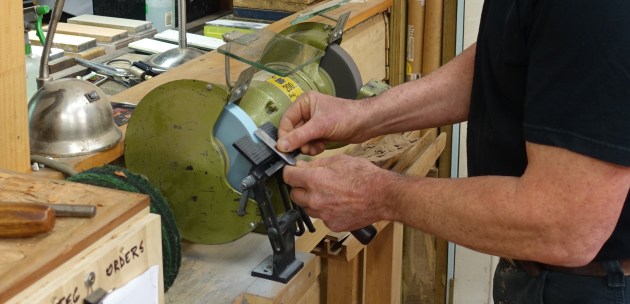
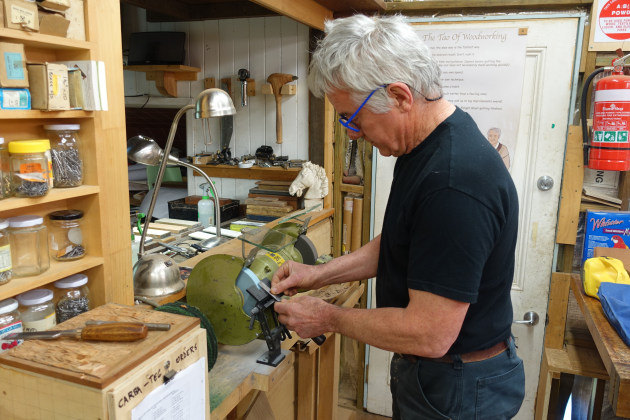
STEP 3: GRIND THE PRIMARY BEVEL
The toolrest on the grinder can be set using a new tool as these are usually ground to 25°. Hold the tool with the tips of your fingers (both hands), and only let it lightly contact the grinding wheel. If you have the correct wheel, dress it regularly, use very light pressure, and check your tool for temperature every quarter minute or so to avoid overheating the steel.

Grind until a half millimetre strip of the previous bevel remains, unless you need to remove a significant nick or broken corner of the edge. A felt tip pen on the bevel (see above) will highlight grinder marks and helps when setting the toolrest and seeing the grinding progression.
STEP 4: HONE THE SECONDARY BEVEL
Place the blade in the honing guide at the 35° setting, and work your way through your stones from coarse to fine. The first stone has to do whatever remedial work the edge still requires. Work on the the coarse diamond stone first until you are quite sure the edge is free of any damage that not been removed by the grinder.
You might need to simply remove a normal wear bevel or any nicks caused by careless handling or a tough piece of hard wood. Or you might be reshaping and repairing an old tool to give it a second life. The first stone has to do all this. The others stones only have to remove the grind marks of previous stones.
If you find it difficult to judge how long to stay on each stone, pick a safe number, say 30, and do that number of back and forward strokes on each stone. Clean the blade and the honing guide roller before moving to the next stone so as to avoid contamination.
STEP 5: REMOVE ANY BURR FROM THE BACK

With a 6000 grit finish on both front and back surfaces, there will be little evidence of a wire edge. However, I always touch the back surface to my finest stone to finish, as every second of contact with the finest stone does help build the degree of polish on the surface. As the sharpness of the blade is a direct consequence of that polish, the better it is, the sharper the tool will be.
Which angles?
To simplify and speed up the sharpening process, grind tools at 25° and hone at 35°. Neither angle needs to be exact, but you do need to be able to repeat them with precision. The best way to do this is to use an angle setting jig.
Learn by doing
As you work through those five steps, a number of things can go wrong. If that happens, you need to identify the problem, and correct it. Take your time with this. Sit down, have a cup of tea and think a bit. Sharpening is a mechanical (i.e. logical) process. Remember that the best and most common way of learning, is by making mistakes. It is only by having things go wrong, and working out why, that you will eventually master the sharpening process. Once you do master it, you will be surprised to find how straightforward and simple it suddenly becomes.
Robert Howard is a woodworker and sculptor who lives in Brisbane. He teaches regular woodwork classes from his studio.
See the process in action in this video