Shake it Baby
Words and photos: Richard Vaughan
Newborn babies tend to attract plastic until the cot becomes a scale version of the Great Pacific Garbage Patch in the clutter of shiny gifts meant to delight the little one. Fortunately we woodworkers can make playthings that are truly unique and carry the love of being handmade, as well as being more environmentally friendly.
There is currently archeological evidence that baby rattles have been delighting kids for at least 4,000 years, so clearly we’re on a winner here. Not only are rattles extremely simple to make but they can also justify stashes of small bits of wood just too gorgeous to part with.
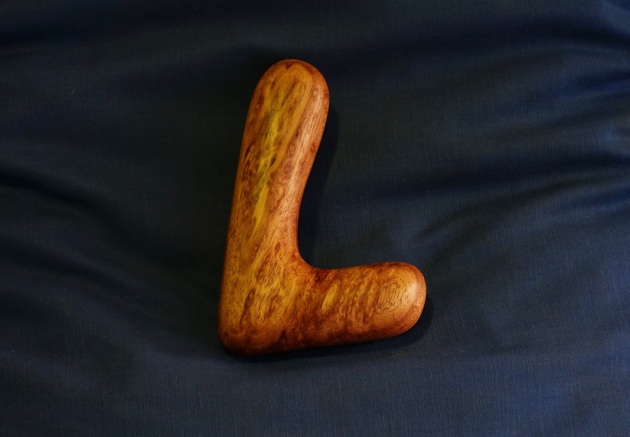
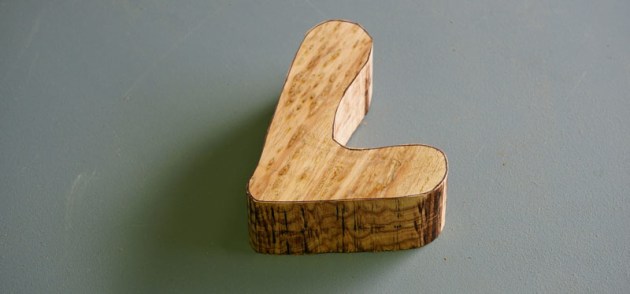
Here I’ll go through the process of making my most recent baby gift. The recipient is named Lucy so I opted for simply making her an L. Past versions include a ‘1’ for a long awaited first child, a ‘4’ for a fourth, a wee four-wheel drive for a boy whose family did serious exploring, and so on.
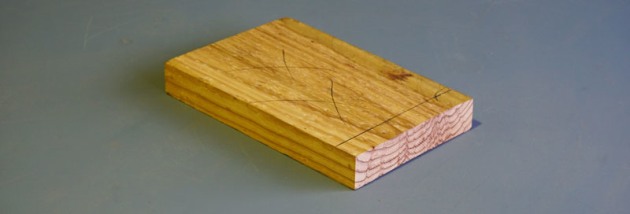
1. The offcut of birds-eye silver wattle, (Acacia dealbata), was trimmed due to cracks decades ago but was simply too interesting to bin.
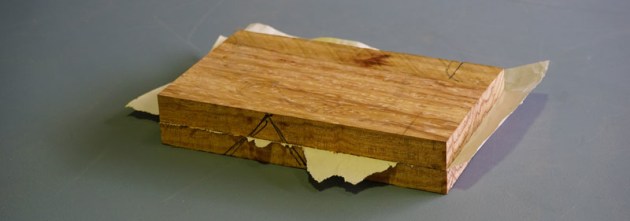
2. The wood was dressed and then split on the bandsaw. Note the marking to ensure correct rejoining. The bandsawn faces were then jointed flat and the halves glued back together with newspaper in between.
You only need a light coat of PVA brushed onto each face before bringing them back together with the paper in between. You need them to hold together just securely enough to enable bandsawing the profile. Too generous with the glue and you’ll struggle to get an easy and clean separation.
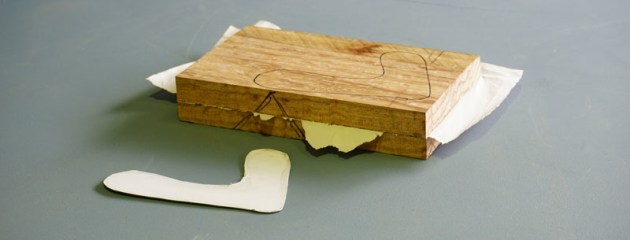
3. Draw up the profile on cardboard or MDF till you’re happy with the shape, keeping in mind that you need to have enough room to hollow it out and have free movement for the rattling components. Keeping the dimensions appropriate for infant hands isessential.
4. Then cut it out for tracing onto the wood to make the most of the figure, and to avoid flaws.
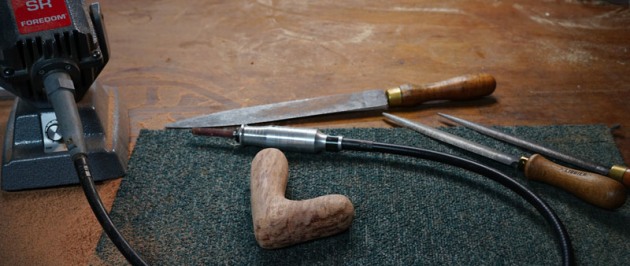
5. Next comes the shaping using rasps, hand and/or rotary carving tools. You may even choose the often forgotten pleasure of whittling it. You can also use the lathe to create a profile.
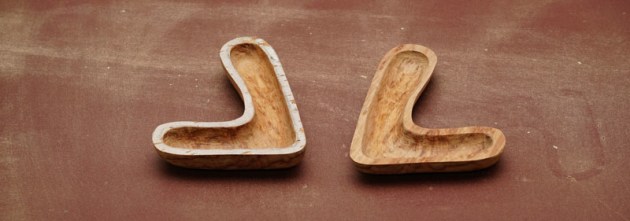
6. Take it to the final shape being aware of having only soft lines and no corners to catch tiny tender fingers. Sand to about 120 grit. Now use a sharp chisel to gently prise the halves apart along rather than across the grain. With minimal glue the paper should simply split.
Although I didn’t for this one, it can be insurance to leave a tab of 10mm or so square at one end when bandsawing the profile to allow for damage that may happen when starting the chisel to make the parting.
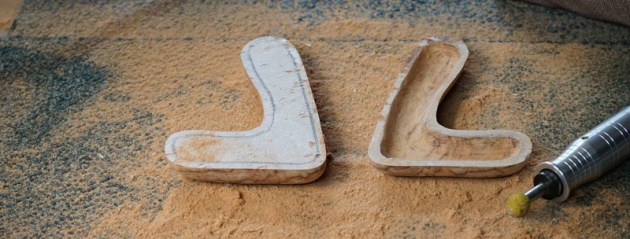
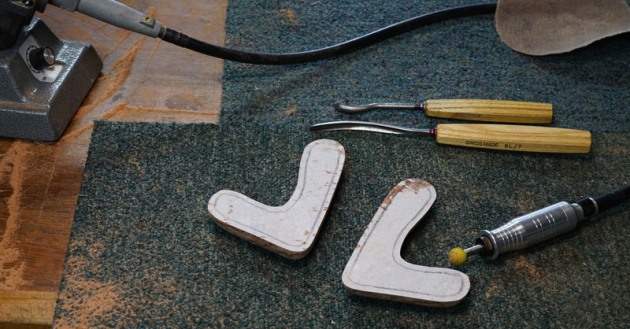
7. The next stage is to hollow out as much as possible so the sound is transmitted easily – 5–6mm thick will be sturdy, (as long as the dog doesn’t get hold of it,) but will allow for clear sound. If you have a rotary carver, as shown here, it will be quicker, but a couple of carving gouges will do the same job.
There’s really no need to sand the internal surface OCD smooth, just enough for free movement of whatever you choose to rattle.
Now you can apply the carnauba wax which will counter any glue squeeze when you rejoin it. A narrow brush helps keep the wax only on the interior surface.
8. You are now ready to clean the newspaper and accidental wax off the edges to prepare them for gluing. You want as invisible a join as possible so there is wonder about how you did it. An effective method to get clean flat edges is to use spray adhesive to stick 180 grit sandpaper to a truly flat surface such as glass, or MDF that you’ve checked for flatness. When rubbing the workpiece over the sandpaper be steady and deliberate so you don’t rock and round any edge.
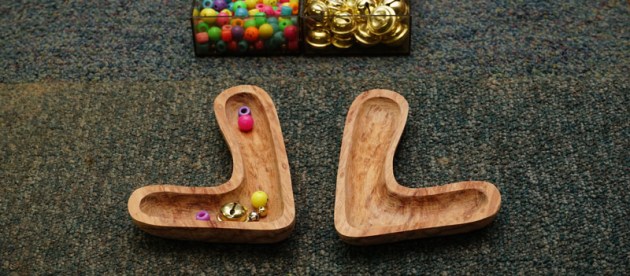
9. To make the noise you could use beads or tiny bells from a craft shop, sterile seeds or perhaps stone hammered into small enough fragments to move freely. Test for sound before the glue up.
Baby rattles are bound to get chewed and sucked, and are likely to do time in the bath etc so you do need to
use a very water resistant glue. The crosslinking PVA glues, often labeled as ‘exterior’, are highly water resistant.
Once glued it’s simply a matter of sanding with 180 grit till smooth and the joint is indistinguishable from grain. The finish I use is Osmo, an extremely durable oil that has been certified food and toy safe in Europe. For good penetration it is recommended to sand only to 180 grit.
The result is a unique and handmade gift to welcome the new arrivals in your life.
Richard Vaughan is a furniture designer/maker in Brisbane who also runs woodwork classes. See richardvaughan.com.au