Shades of black: adventures in ebonising
Words and photos: Linda Nathan, Wood Review editor
You may now be looking at the most over-capitalised (in terms of time spent) wooden spoons on the planet. Everyone knows you can buy decent and well made stirrers from any chain store around. But the quest goes on.

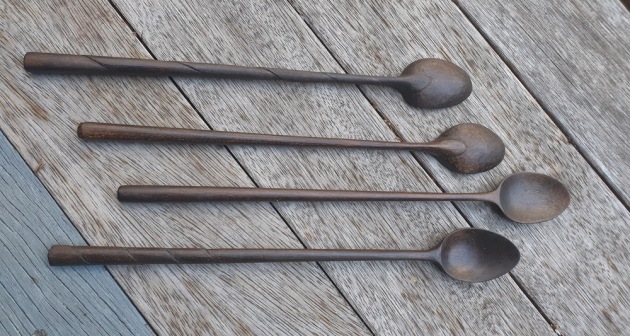
Raw and unfinished, four spoons in white beech, 260mm long
Wood with extremely regular, aka plain grain, can highlight the lines of a design, but for that extra pizzazz, figure and colour can add something extra. Enter four spoons with fairly regular form and long quite slender handles. Better in black? Maybe. Take a risk? They're only spoons, so why not add some colour, in this case basic black?

Michael Fortune gave me his recipe – it's reprinted at the bottom of this page. Fast forward to a shopping expedition for teabags (not the kind in our house), coffee filter papers, cheap vinegar, lacquer thinners, sponge applicators and bulk steel wool – followed by a search for jars, then soaking time, straining and filtering sessions, followed by four applications (black tea x 1, strained iron/vinegar x 3).

The first coat of black tea didn’t make that much difference.

Three coats of iron/vinegar solution later
In-between light sandings did nothing to help the disappointing interim result: four dirty brown, slightly furry edged long spoons… As it turns out, some species ebonise much better than others. The white beech used here was not one of them.
Weeks passed as the spoons lay on an adjacent desk in my office. No regrets about the material expense and carving time, only about the dirty look they kept giving back to me.
And then one day I thought to burnish with the small smooth stone I keep in my toolkit, and finally a glimmer of hope emerged. Into the shed, a light furniture oil applied, and…not too bad.

The finished spoons after treating with tea, iron/vinegar, and then burnished, oiled and waxed
Michael Fortune’s ebonising recipe

...and here's what's possible, as shown in this detail of an ebonised walnut table by Michael Fortune
1. In a yoghurt container 750 ml soak 10 black tea bags in boiled water. Let sit overnight in a warm area. Squeeze out the tea bags.
2. In another yoghurt container wash out a fist-sized hank of medium steel wool twice in lacquer thinners. Let it dry thoroughly then wash in clean water. Cover with cheap white vinegar and let sit overnight in a warm environment. Poke it in the morning, there should be bubbles. It should be ready to use in the afternoon. Strain through a coffee filter. Just before applying, stir in a single small drop of liquid dish soap. This breaks the surface tension so the vinegar will flow into the open pores.
3. Liberally apply tea to finish sanded wood. Let it dry, sand again. Apply another coat and fine sand again. Blow off or wipe the surface.
4. Apply the vinegar/steel mix. For furniture, start at the bottom and work upwards to avoid drips. Buff with plastic wool. Apply another coat, hopefully the last as too many coats can produce a dull oxide red colour. If you want it blacker but don’t want to apply more vinegar, apply more tea, it regenerates the chemical vinegar/steel reaction. If you wish you can rub a very small amount of India Ink at the end but before the finish goes on. I like an oil finish over top but have used lacquer, furniture wax.
Learn more about Michael Fortune at www.michaelfortune.com
You can also read another article about ebonising by Anthony Warfe on our website here.