


Words, ideas and photos by Andrew Potocnik
If you’re planning to sell your work, you’ll operate more profitably if you employ simple techniques and minimal equipment, while keeping an eye on quality results.
Your designs should address contemporary demands with due reference to their intended market. They should look good and fulfill their functionality. And don’t forget to include price in the design equation—balance your costs of production against their
likely return.
Adding new techniques to your repertoire, along with the sheer power of repetition will ensure your skills will improve to the stage where production items roll out at a rapid rate. Consider also adding your own unique touch with decorative burnt (pyrography) and carved surfaces, or incorporating objects of local interest such as stones, shells and so on.
Here are a few ideas to set you thinking and hopefully stimulate you to create your own designs based on the resources available to you and the demands of your local market.
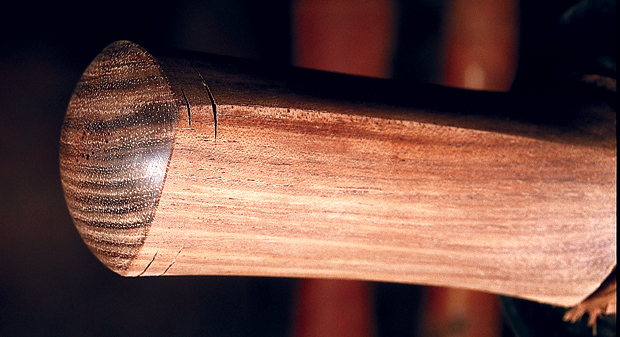
Letter Openers
The corporate gift market is one that never seems to find enough quality items to satisfy it. The letter openers shown above were easy to make and could easily address this need. Shapes were bandsawn and the edges refined on a belt sander. Faces were also sanded, first mechanically then by hand, working though to 320 grit. One edge was left fairly sharp to do the work.
This method of production allows for individuality (I shaped my openers like river redgum leaves), but is too time consuming for production work. Stacking slices of timber when bandsawing would speed things up, however faces would still need to be worked individually and hand sanded for a quality product. A lovely shape doesn’t deserve to be left with telltale signs of how it was created. Here too, jigs could speed production, but these can only be developed through trial and error. Another way to make an opener is to turn a blade on two axes to form a sharp edge. The handle would be turned on its true axis.
Laminated Salad Servers
In an earlier story in the magazine Richard Vaughan shaped some servers on a drill-mounted drum sander, but using a simple homemade jig it’s easy to transform thin pieces of wood into new and interesting shapes. Commercially manufactured veneer is ideal and commercial off-cuts are even more ideal for small laminating projects. You can add an outer layer of a specially figured veneer for extra enhancement.
Bending jigs are easy to make. By cutting a thick block of wood to a curved line you can create a positive and negative mould or jig. Line the two faces with thin foam or some sort of padding as shown below.
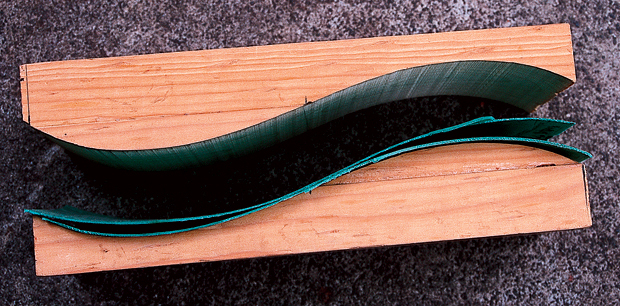
Experience has led me to settle on five layers of 0.6 mm veneer to provide an ideal thickness.

Gluing together layers with a gap filling PVA (which has extra body and resistance to water) and using plenty of clamps will ensure a successful lamination. I use four clamps on a jig about 150mm wide and 350mm long. Allow at least 24 hours for the glue to dry but check the manufacturer’s specifications before releasing the clamps to reveal a neatly curved form ready to be cut to shape.
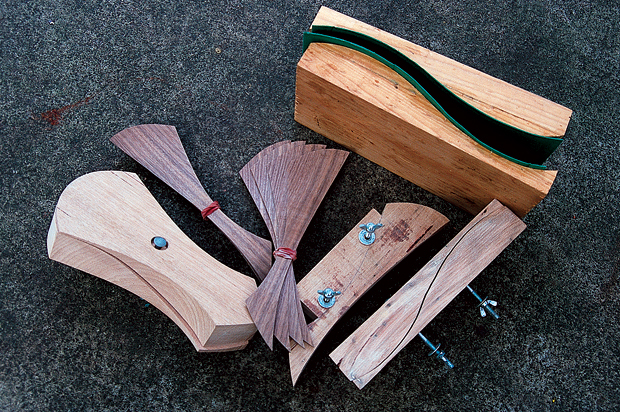
I’ve made a couple of simple jigs which enable ‘bundles’ of servers to be cut and sanded in one operation as shown above, sidestepping some of the repetition. Mechanically sanding the faces also speeds up the boring part of production. Use a belt sander or a sanding disc fitted to some form of rotary driven sanding pad. In the end though, it will still come down to good old elbow grease to create work that looks and feels good.
Once mastered, this technique can be used to make a host of other items, from trays to a variety of desk tidies and holders.
Multi-Axis Salt and Pepper Shakers/Mills
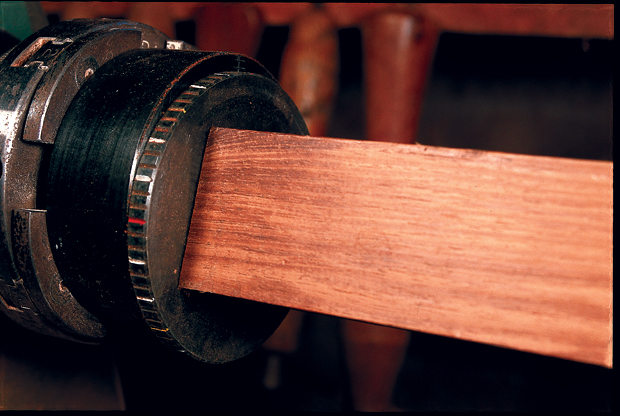
For this variation on an old theme I used an ‘orbit’ chuck to speed up the production process. The blank was mounted on the screw centre and its centre then relocated by moving the main carrier plate 5mm away.
The square blank was trimmed on one face with a small section at the base sacrificed, then moved to its second position simply by twisting the carrier plate about one-third of a rotation.
If turning between centres, the same result could be achieved by relocating timber between the driving spur and live centre. Once turned, I find it easiest to sand each turned face by hand or with a drill-mounted sanding pad. Ensure each facet is not rounded over into the next or you will reduce definition, not to mention the effect you are striving for.
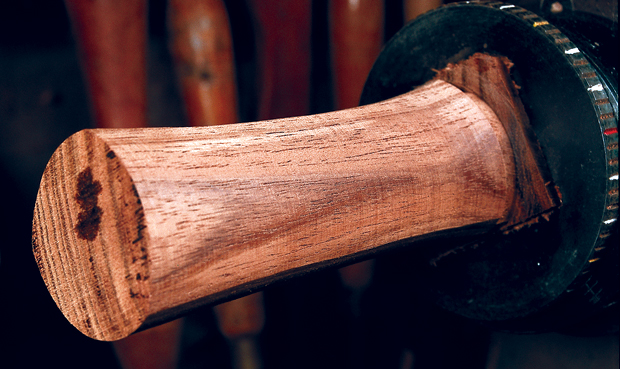
Faces completed, the timber was returned to its true centre so that the top could be finished, then parted off with a parting tool sharp enough to reduce the need for sanding later on. The base needs to be undercut so the shaker or mill will sit flat on any surface, while the edges are chamfered to make it comfortable to handle.
The interior was hollowed on a pedestal drill. Each form was rested upside down on a pad of rubber, but it would pay to make a simple jig for support as the drill is inclined to catch. Drill holes into the top for the salt or pepper to escape from and your shakers are almost complete.

A stopper of sorts needs to be made or found to block the bottom. You can convert the shakers to mills by fitting a grinding mechanism, but you will need to allow for the extra expense.
Lastly…
You can tailor your designs to speed up the production process, weighing up the style benefits of curves versus the speed of straight lines. Tablesaws, electric planers, jigs and other equipment can all decrease cutting and finishing times. But however you adapt your designs and methods of production, especially when working with small sections of wood, the only corners never to cut are those which ensure your safety!
Andrew Potocnik is a wood artist who lives in Melbourne, learn more about him here.
This story was first published in issue 33 of Australian Wood Review.