


Words and photos by Raf Nathan
Work stands, saw horses or whatever you choose to call them are indispensable in the workshop for supporting timber and work in progress. The stands shown here are just like the pair I’ve been using in my workshop for over 20 years. You’ll quickly find a use for them when you need to machine timber, assemble or glue up your next project.
If you’re new to woodwork they are an excellent exercise in simple joint making techniques as you will learn to lay out, measure, hand plane, and fit dowel and lap joints.
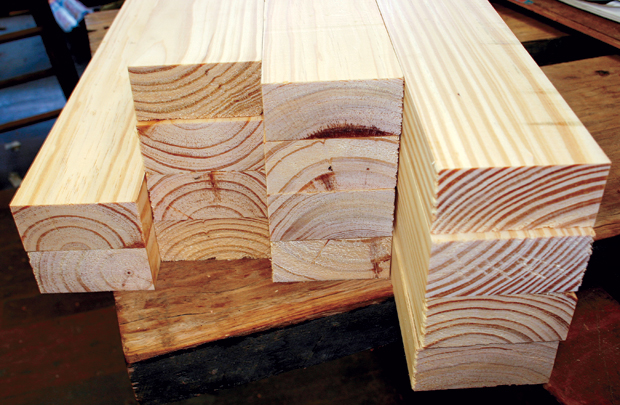
1. I bought standard radiata pine from my local hardware store. The first step is to cut the components oversize, that is, 50mm or more longer than their final length. The wood I bought is framing timber and even though it was dressed all around (DAR) it wasn’t square enough for my needs. I remachined the wood on my planer/thicknesser, finishing up with square timber, 68 x 32mm in section. Once the wood is machined square the components can be sawn to their final length.
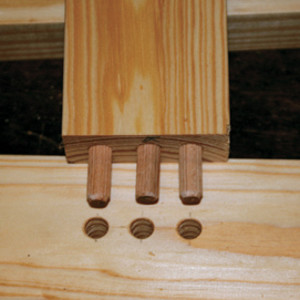
2. The joints used for the stands are dowels, a lap (also called a halving T-joint) joint and screws. Dowel joints are used to connect the two horizontal rails to the legs. There are three 9.5mm diameter (3/8”) dowels at each dowel joint. Careful marking and measuring is essential before proceeding to the most difficult part—drilling the holes in the endgrain of the rails.
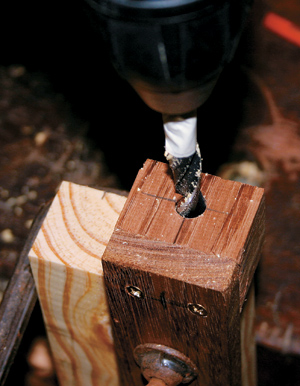
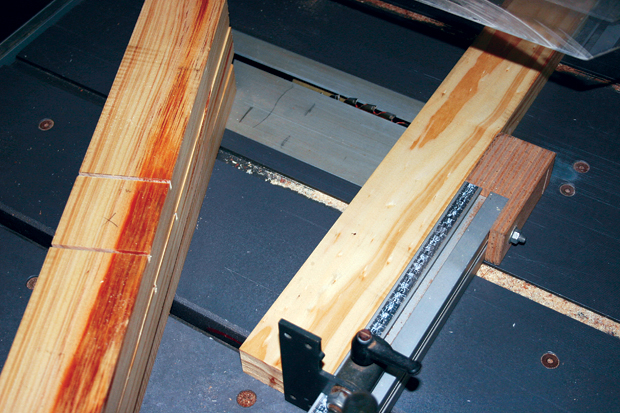
To do this you either need a dowelling table or a dowelling jig (see below), however you don’t need to buy expensive tools and accessories for this as it’s easy to make a simple jig from scraps for this purpose.
The jig consists of a guide piece and a clamp piece. Two pieces of wood were prepared and cut to length. The guide piece is 40 x 20 x 28mm and needs to be at least 20mm thick to give enough guidance for the drill bit. A 9.5mm drill bit in a drill press was used to accurately drill a hole at 90° into the guide piece. The clamp piece is 70 x 40 x 12mm.
Use glue and two screws to join the guide and clamp pieces, ensuring they are square and flush. Clamping the jig shown below to the workpiece provides an effective means of drilling accurately for dowels. The jig has a limited life because eventually the hole in the guide piece will be enlarged with repeated drilling.

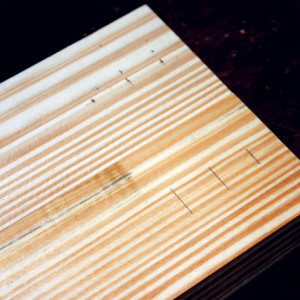
The photo below shows the pencil marks used to line up the jig with those on the workpiece.
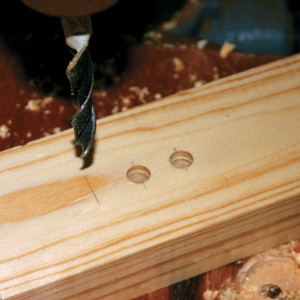
The corresponding holes in the legs were marked and then drilled with the drill press.
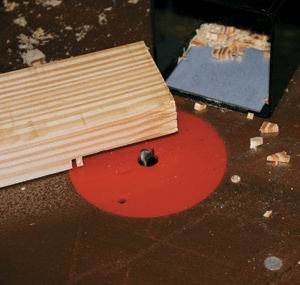
3. The legs and feet are joined with a lapped joint. Housings are cut on the bottom of the leg and the middle of the feet. Using a stop on the fence of the tablesaw I cut the shoulders of these joints first.
Still on the tablesaw a series of cuts were made in between the shoulder cuts to remove most of the waste. If you don’t have a tablesaw use a handsaw. A straight cutter in the router table removed the rest of the waste.
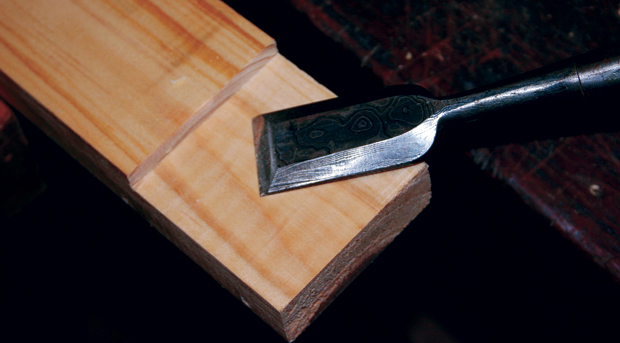
A sharp chisel cleaned and flattened anything the router missed.
Countersunk holes for screws were then drilled on the inside of the legs.

4. With the joints cut for connecting the rails, legs and feet the stand is almost ready to glue together. The top of the stand is a section of wood on its face that is screwed to the top rail afterwards. Screwing these on means they can be easily replaced after a few years of use when it’s likely they’ve become covered in glue, chisel marks and saw cuts. I predrilled the screw holes for the rests before glue up, countersinking the holes to accept long screws.
5. I decided to put a slight taper on the upper edge of the feet. I marked the taper with a pencil then removed the waste on the bandsaw.

I cleaned up the sawn edge with a hand plane and then ran a small block plane along all the edges so they weren't sharp.
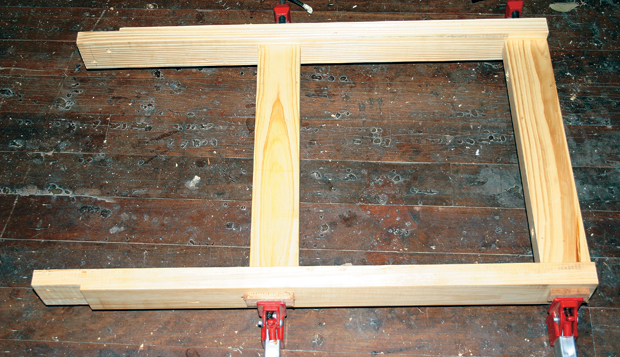
6. With everything prepared the legs and rails can now be glued together. Take care that everything is square and there is no twist. Leave these to dry overnight. Attach the feet using screws and plenty of glue at the joint.
7. You may find the top rail doesn’t align perfectly with the top of the leg, so you will need to plane this meeting point flush. The top of the stand can finally be screwed on. I added a few spots of glue to this to give a little more strength however you will still be able to remove the rest later on if it needs to be replaced.
8. It’s advisable to give the stands a sealing coat of shellac or lacquer to protect them from the spills of stain and glue they will inevitably receive during their working life.
CUTTING LIST
All components are cut from radiata pine 68 x 22mm in section
LEGS: 2 @ 760mm
RAILS: 2 @ 410mm
FEET : 2 @ 500mm
TOP: 1 @ 600mm
Raf Nathan is Tool & Equipment Editor for Australian Wood Review. He has made furniture for over 30 years and authored two project books. Handmade Furniture 1 and Handmade Furniture II.