Winning Boxmaking Tips
A couple of issues ago we challenged boxmakers to send in their best tips for a chance to win one of two Gerner hinge packs. Congratulations to the winners, Robin Cromer and Gene Alexander! Here are their winning tips:

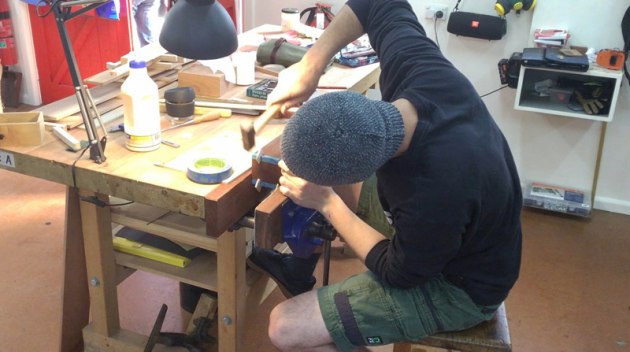
Robin Cromer, ACT

Applying shellac prior to assembly.
This is a tip that I always use myself and that I recommend to those who are developing their skills in boxmaking. Sand and finish the inside of your box before the glue-up stage. This can save an enormous amount of time and generally leads to much better results than trying to finish the inside after glue-up.
The inside faces of the four sides of the box should be sanded down to at least 400 grit before any joinery is done so that any slight reduction in board thickness will not affect the joint. The joints (dovetails, finger joints, mitres etc) should then be completed.
I generally apply shellac at this stage as it is quick to apply multiple coats and obtain an excellent finish. Dovetails and finger joints will need to be covered with tape during this application, so the finish does not hinder subsequent glue absorption.

Completed box by Robin Cromer
Cutting rebates for the base and/or lid should be done at this stage. If done before shellac is applied there is a risk that the finish will clog the rebate. Before glue-up, a coat of paste wax can be applied to the inside corners to help in subsequent removal of glue. After the box has been glued up, any glue squeeze-out in the internal corners can be removed with a small sharp chisel or a scalpel. Any minor scratches on the inside corners can be remedied by applying some shellac with a small brush.
Gene Alexander, NSW
My tip specifically pertains to mitre box making. When making and using keys for mitered box joinery, it is difficult to keep the corners of the boxes crisp where you are hammering in the keys for the mitre joint. I found when making a key that is the exact width of the blade kerf it can be difficult to use, as a common problem is denting or marring an edge when driving it into the slot.

A common technique used to avoid this is to chamfer an edge of the key so as it can be slid in and hammered into place, however I found this has a possibility of tear out, for as you are striking the key, it is being forced in a 45° direction to the grain which causes tearout out if the key is too tight.

I ended up gouging the keys in the middle on both sides (highlighted it chalk) so it can be seated and then struck directly into the joint. This also leaves a small pocket for glue to strengthen the key and is also not seen when completed properly.
For more information about Gerner Hinges see www.gernerhinges.com