


Words and photos by Andrew Potocnik
Some years ago I decided to make a piece for the ‘miniatures’ section of a competition. I delved into my stash of ‘special’ little bits. And believe me, with a collection that dates a long way back, there was a good chance some of those treasures would fit within the 50mm cubed category restrictions. They’re all too good to throw away; some have special grain, colour or sentimental value. I’m willing to bet I’m not the only one with a collection like this. I planned to make a small hollow form topped with a simple lid with a curved handle.
A piece of northern needlewood (Hakea leucoptera), crimson red in colour with prominent medullary rays caught my eye. Apart from colour, its flecked side grain could add interest to a turned form. Beware though, attractive timber can enhance the things you make, but it can’t cover poor form, especially on small pieces where mistakes are magnified rather than hidden.
From the start
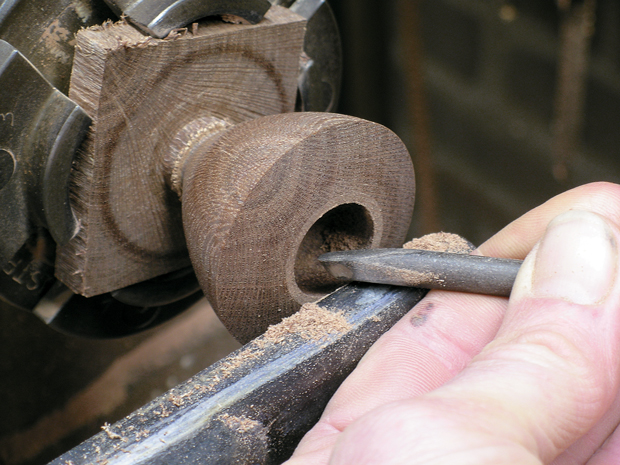
Fitted into my 90mm wide scroll chuck (photo 1), you get an idea of how small this blank was.

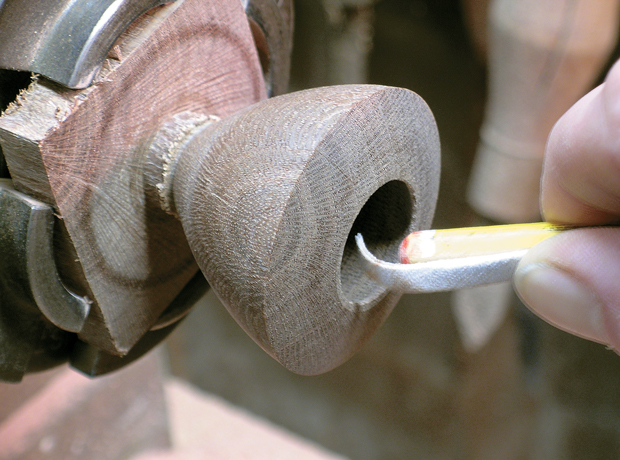
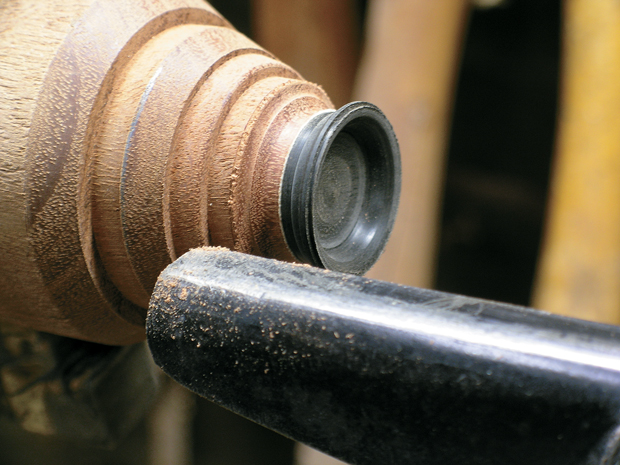
The blank was turned to a tapering curved form with a broad slightly domed top before hollowing. Initial work was done with a small deep fluted bowl gouge, followed by a home made scraper (photo 2).
The latter is a 6mm diameter rod of hardened steel ground to the shape of a round nosed scraper. I rotated it so the sharp tip approached the wood at an angle of about 45°. This ‘converted’ it from a scraper to a shear scraper so the tool didn’t just tear wood away but sliced it, leaving a smoother surface that needed less sanding. A secret ‘tool’ I use for sanding is a pencil with sandpaper wrapped over the end of (photo 3).
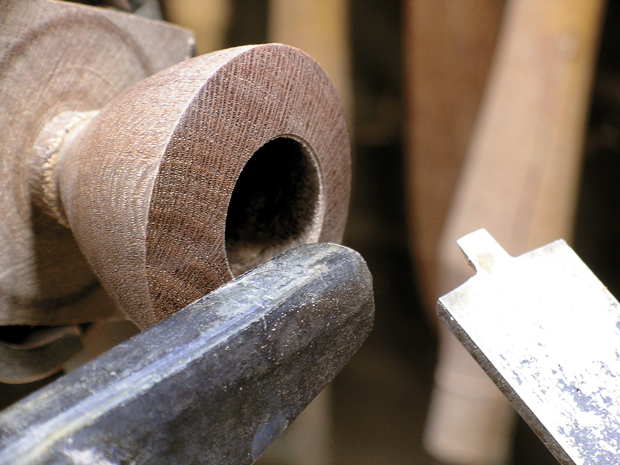
The vessel’s upper surface was sanded with various grades of abrasive from 120 to 400 grit before a small recess was cut with the ‘granny tooth’ scraper you can see on the right of photo 4. The recess was made to accept a fine ring that would define the opening of the box.
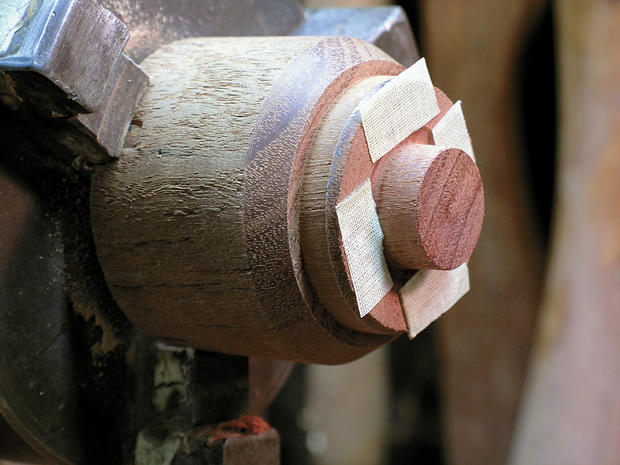
When I make a box I like it to appear as a complete object, even with its lid removed. In this case the base is really a hollow vessel. To make the ring I attached a scrap of ebony to a carrier with double-sided tape (photo 5). For a small item like this the tape has sufficient grip, but I wouldn’t recommend this method for larger work. The carrier was held in a scroll chuck.
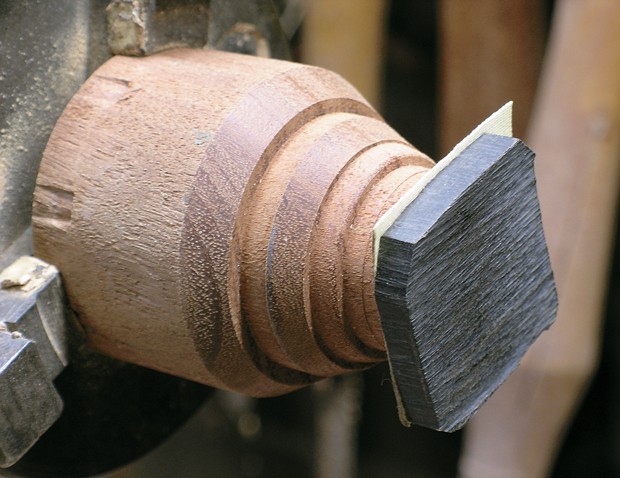 Photo 6 shows the fine step that was cut to match the recess in the vessel to help locate it.
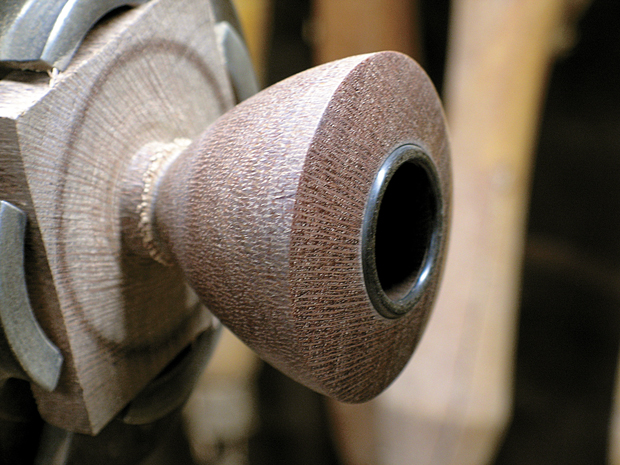
A fine home made parting tool was used to cut the ring free from the carrier before gluing it into the vessel and then shaping and sanding the top portion (photo 7).
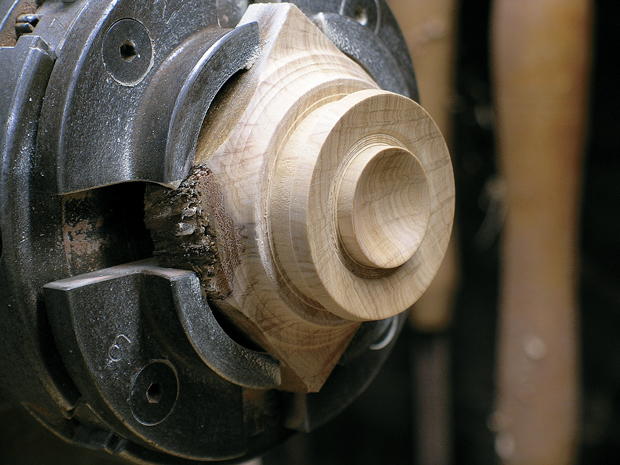
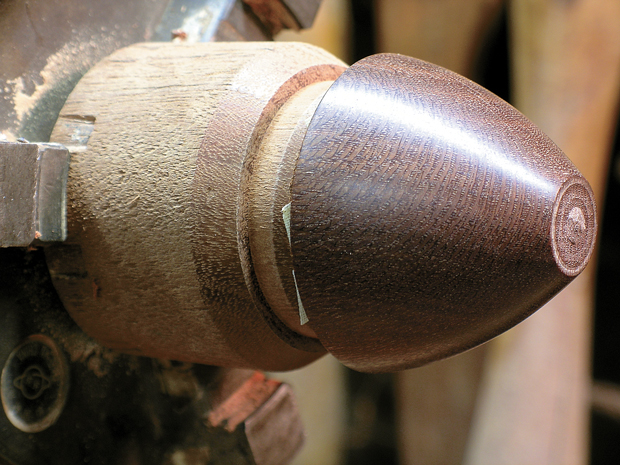
Because of its small size the lid needed something dramatic, timber with fine grain and prominent feature. I chose some native currant (Psydrax longifolia) from Western Australia which has a spider-like pattern when cut across the grain. Again the blank was held in a scroll chuck and a prominent spigot was cut to fit inside the opening of the vessel. The lid needed to be undercut so it would not sit too high on the completed box (photo 8).
Reversed onto a jam fit carrier, the top was turned down to a slightly domed form (photo 9).
Making lids with suitable handles has puzzled me for quite some time. I sketched until I arrived at a curved and tapered form that I thought might do the trick. A narrow piece of fiddleback blackwood was turned using a skew chisel (photo 10), ready for bending to a suitable curve.
I soaked the wood in water for a couple of hours, allowing moisture to penetrate well into the fibres (keep in mind, this wood was only 3mm thick). It was then subjected to my bending iron—the kind normally used by musical instruments makers (photo 11).
Much has been written about bending wood, and many factors need to be considered. Many European timbers bend very well, but not so much is known about Australian species that are suited to this technique. Acacias of the south-east of Australia seem to fit the bill which is why I chose our very own blackwood (Acacia melanoxylon).
A small bead was turned from blackwood to separate the handle and lid, and then all components were drilled to accept a 1mm ‘pin’ (I used a 15mm long brad) (photo 12).
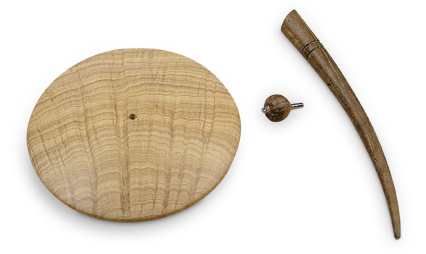
To finish the base of the box I fitted a scrap of wood into a scroll chuck and turned a tenon to fit inside the collar of the box, attached some double-sided adhesive tape to the carrier (photo 13).
The box was then reversed for some very delicate final turning and sanding (photo 13).
I applied my favourite ‘wipe-on, wipe-off’ polyurethane finish to all components prior to assembling the pieces.
Fortunately for me, this lidded container won its section in the competition, lead to a sale and a photo on the front page of the local newspaper. Can I see potential for further developing this design? Sure can—and so may you!
Wood Review's Maker of the Year competition is open for entry now. There are four categories: Furniture, Bowls & Boxes, Art & Accessories and Student. Entries for Bowls & Boxes may be turned, joined, carved or made by a combination of materials. For information and entry see www.woodreview.com.au/moty
Andrew Potocnik is a wood artist in Melbourne and writes regularly for Australian Wood Review. Learn more at www.andrewpotocnik.com
