Making a Handheld Mirror
Words and photos: Richard Vaughan
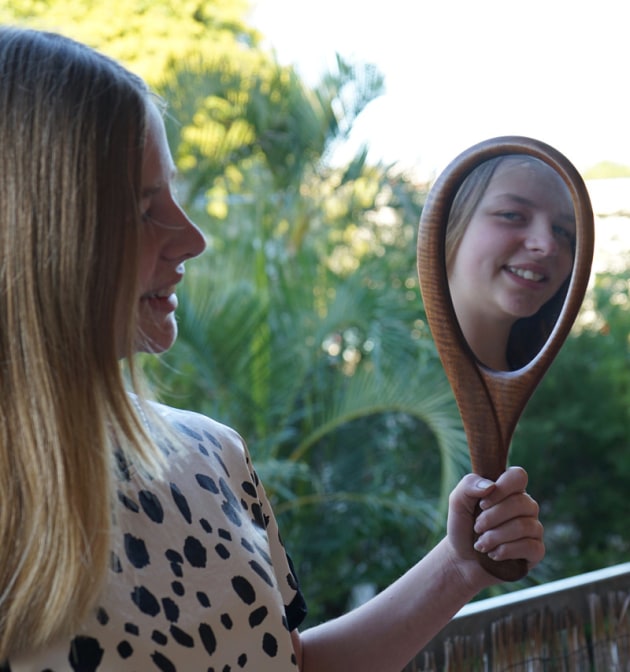
When my beloved 12 year old niece unselfconsciously lamented to me that there weren’t enough mirrors in her home I had to
act. A hand held mirror was required. Her hair is now well past shoulder length and is a constant focus of her preening so sketches alluding to her long hair were commenced.
Getting the form right
I don’t use computer modelling, mainly because it would require regular use to achieve competence, but also because even a skilled screen rendition can’t match seeing an object from different angles and experiencing the way light works with it, as well
as the feel of any curves. Which is why painters continue to do studies and sculptors make maquettes and furniture makers model and prototype, and so on.
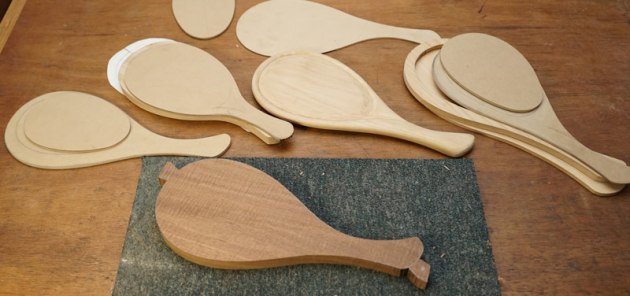
Scale models and/or prototypes are essential to developing an idea into a form, so even for such a simple item as this hand mirror, full size drawings and cutouts on cardboard and then versions in hoop pine followed (photo 1).
Most of us have select bits of wood stashed away. For this mirror I remembered a board of Tasmanian blackwood with some glorious fiddleback that had waited a long time for recognition of its destiny.
Shaping
The profile was traced onto the dressed blackwood to make best use of the figure, then bandsawn and sanded to a clean edge. Note the tabs that were left at each end to make the subsequent processes so much simpler.
You could also use pattern following router bits to get the final shape but for just one or two mirrors I judged it quicker to bandsaw accurately and clean up the outline with a linisher and hand held sanding block. A good rasp is also effective in getting a bump and dip free line, because there is no need for a fine surface finish here as that comes later.
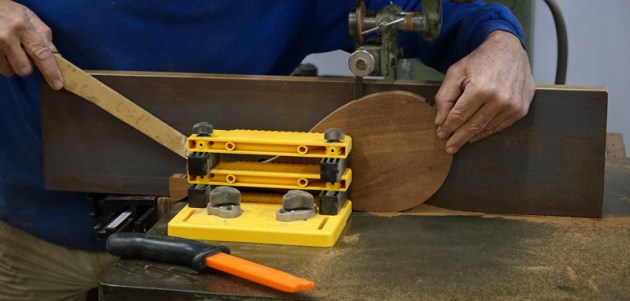
This profile was split on the bandsaw (photo 2). The bandsawn faces were then skimmed over the jointer to remove the irregularities of the sawn surface so they would rejoin inconspicuously.

The opening for the mirror was first cut out with the jigsaw several millimetres inside the line to avoid any break out. Note the simple plywood stands that I constantly use for holding work above the bench (photo 3).
Routing the mirror opening
The ply template was used with pattern following router bits to achieve the clean accurate edge that will frame the mirror. The tabs provide a simple and secure way of attaching the workpiece to the pattern so it can be used for both top and bottom bearing bits.

Blackwood is particularly averse to being machined against the grain so both top and bottom bearing router bits were used in the router table to be sure of working with the grain (photo 4).

You can see that I have two router tables (photo 5) but one will do just as well with bits changed according to grain, and you could even manage it with careful use of a handheld router, or two.

The next step is to rout the 3mm deep rebate for the mirror. The trimmer with a dedicated bit is ideal for this but you must take particular care when working against the grain. Using the trimmer like a chisel and paring only a little at time while back cutting dealt with the potential for breakouts (photo 6). And once again those stands proved their worth.

The workpiece is reattached to the ply to support it while the inner edge is shaped (photo 7). It would be disappointing to break the now increasingly slender frame. Once it has a totally smooth line this is the time to take this inner edge to 320 grit. Any imperfection will only be exaggerated when the mirror is behind it.

The two halves are then screwed together for the rest of the shaping (photo 8). My No.12 Auriou rasp and cabinet scraper were the ideal tools for this, as figured blackwood really does resent you ignoring its grain. Using a spokeshave for example would be ‘a brave decision’.
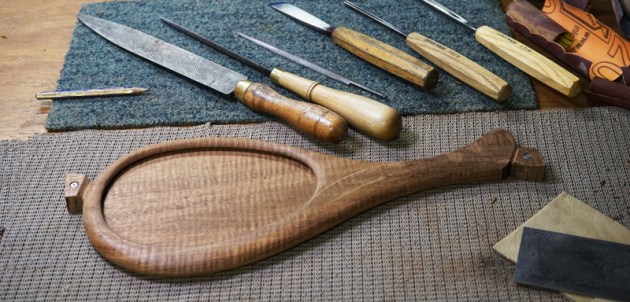
Photo 9 above shows the final shape now ready for gluing. Rather than risk getting oil on the mirror it was simpler to apply finish to the inner edge before glue up.

The inside of the back was also oiled to ensure stability over time (photo 10).
I decided to use 3mm acrylic* mirror because that meant I could cut it exactly to the shape I wanted without needing to count on accuracy by others. Acrylic cuts easily on the bandsaw and cleans up with sandpaper. It is also much lighter and won’t break should it be accidentally dropped.
A beveled edge on the mirror could be a nice detail but you’ll have to find a reliable glass cutter unless you can find a way to get a satisfactory result on the acrylic. I haven’t yet.
Glue up
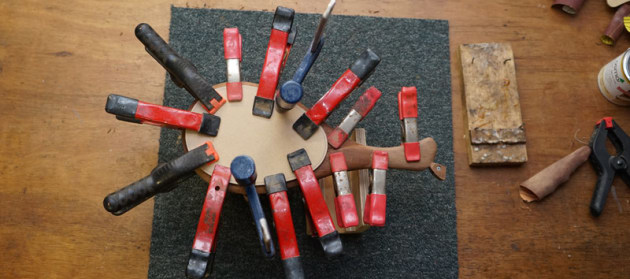
With so much material removed in the shaping there is bound to be slight deviations from the dead flat surfaces off the jointer so plenty of clamping is appropriate to get a tight joint all round (photo 11).
Once the mirror frame is glued it is simply a matter of cutting off the tabs and shaping the stubs. Then comes the joy of applying Osmo oil and watching the figure come to life.
Love jobs like this are rewarding beyond words and I hope you have someone in your life you’d love to make a mirror for.
* Acrylic is more easily scratched than glass but there are readily available means for removing marks. I carelessly wiped the mirror with a dirty cloth once it was ready for presentation and left a very obvious scratch. I was saved by a kit of three dedicated products by Novus to remove scratches and polish acrylic.
Richard Vaughan is a contributing editor to Australian Wood Review magazine. Learn more about him here. This story was first published in issue 94.