How to create multi-axis turnings

Words and photos: Andrew Potocnik
In conventional spindle turning, both the driving spur and tail stock centre are positioned at the middle of each end of the turning blank. When turning off-centre, either one or both ends of the blank are repositioned.
Design
Cabriole legs, for example, can be either carved or turned to shape by plotting converging or parallel axes. Shifting axes on faceplate turned items can produce a variety of geometric and ornamental forms. Those shown here illustrate the effects of random changes of axes; with planning however the possibilities are limitless.
Wood or ply, solid or stacked
Great effects can be created by using timbers that have distinct grain lines or even stack-laminated plywood. Always be extremely careful when turning blanks that have been glued together – make sure everything is soundly bonded before beginning.
Safety issues
Once the lathe is switched on, the wood will travel in an eccentric motion around the new central axis of its support. This creates a new set of issues to be dealt with by the turner.
Firstly, it is difficult to see the outer boundaries of the arc through which the blank travels, especially as it is necessary to run the lathe at a high speed. It is therefore important to be very careful when positioning your toolrest to ensure that the wood will not hit it. As with any other turning operation, revolve the blank by hand through 360 ° to check there is no point of contact before you switch the lathe on.
Safety is paramount. Keep fingers well away from the workpiece, preferably behind the toolrest at all times. Introduce the tool to the wood slowly and gently until you are sure of where the blank’s perimeters travel.
Another problem that may arise is that because the weight of the blank is not spinning in a balanced motion, the lathe may rock. If your timber is thin and has little mass, it won’t cause the lathe to rock much, if at all. However if you are turning a larger piece of wood, you may well need to stabilise your lathe before beginning. This may be done by fastening it to the floor, adding extended feet or even extra weight to its base.
The process
I usually begin by roughing the blank down to a cylinder.
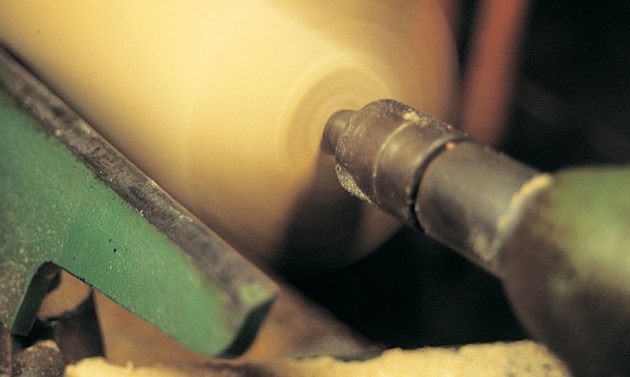
Photo 1

Photo 2
The further the timber is off-set, the broader the arc produced once you recommence cutting: start by off-setting the blank about a centimetre (photos 1 and 2).
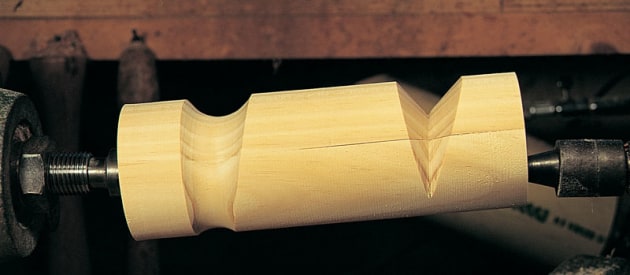
Photo 3
By off-setting at the tailstock end only and making two cuts (one with the gouge, the other with a skew) you can create the effects seen in photo 3.

Photo 4
By off-setting the blank an equal distance in the opposite direction (photo 4) and taking similar cuts a short distance along the blank, you can produce a similar effect in mirror-like opposition, as seen in photo 5.
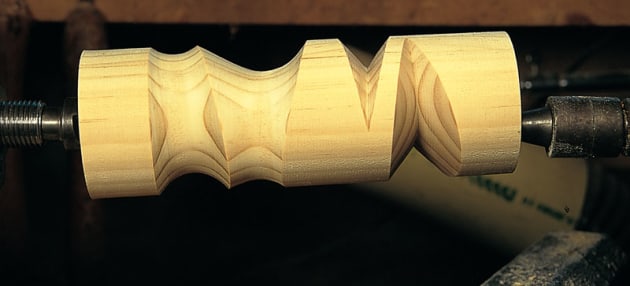
Photo 5

Photo 6
If you off-set at both ends and trim the full length of your blank, you will create a separate facet (photo 6). This can be repeated as many times as you wish.
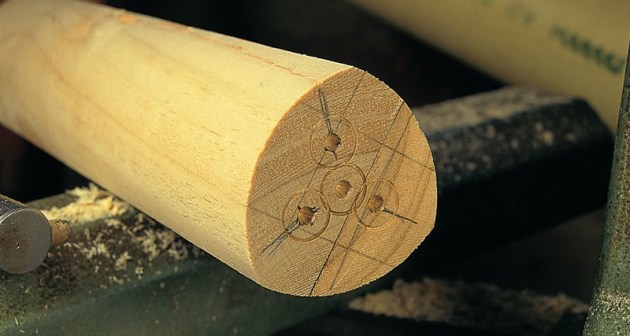
Photo 7
Photo 7 shows the effect of offsetting to three axes equidistant from the original centre axis.

Photo 8
You may wish to part down sections of your blank and turn each into an individual multi-faceted ‘block’ (photo 8) or continue as I did, making them into containers.

Photo 9
Drawing divisions on my blank, I offset in one direction and cut into a couple of the sections making sure that I kept straight edges on each section (photo 9).

Photo 10
Planning to off-set in three directions, I moved the blank (at both ends) to a second centre, marking it C2 for later reference. The resulting effect is seen in photo 10.

Photo 11
I continued to work on a third centre, C3, then bisected these centres equally to create centre 4, 5, and 6, allowing the slight off-setting of some blocks from others. This produced a series of three faced blocks, which had clean sharp edges where each of the faces meet (photo 11).
The last stage in the shaping of these blocks was to divide them up, using a skew chisel. I cut the ends in sweeping curves that began at the outermost point of each block, to give definition and individual character.
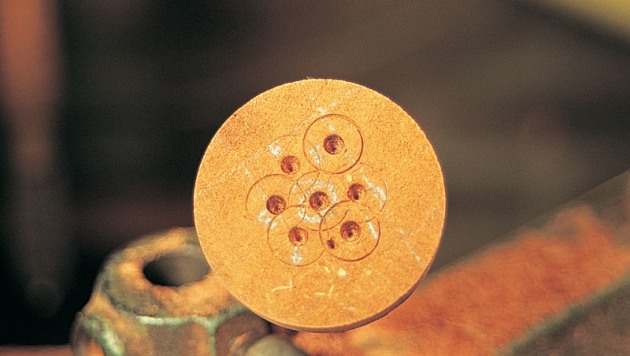
Photo 12
Photo 12 shows the six centres used to create the form.

Photo 13
All that remained to be done was to part off the tail stock end of my blank, transfer the headstock end into a scroll chuck and drill out the centre of the container-to-be using a Jacobs chuck. This was held in the tailstock of the lathe (see photo 13).
A small stopper was turned, burnt and wire-brushed for texture, and a base was created. This was attached by means of a hole that accommodates a tenon which was turned at the end of the off-centre turned spindle.
Andrew Potocnik is a wood artist and woodwork teacher who lives in Melbourne. Learn more at www.andrewpotocnik.com