Edging veneered panels
Words: Damion Fauser
Photos: Linda Nathan
Using veneered panels in your woodworking projects has many advantages. Firstly, because the core material is a manufactured product, you can to a large degree ignore the traditional constraints of solid wood movement. This alone can open up construction and joinery options that would otherwise not
be possible.
Secondly, it allows the use of stunning layout patterns from the veneer, from simple slip and bookmatches to more complex geometric patterns such as radial matches and even floral marquetry. Applying solid edging also reopens the possibility to shape and profile edges. Finally, there are resource and sustainability benefits, as a simple figured board can cover a vast area when sliced into veneer, as well as the fact that there is a 100% yield from a veneered log.
Covering the exposed edges of veneered panel products is not just an aesthetic requirement, but often a structural one as well. Thin veneer is very fragile at the edges and applying solid edging can protect it from the knocks and bumps of everyday life. In this article I will cover a few techniques for applying solid edging.
Consider first
When designing your piece, consider first and foremost whether edging is actually required. If your panel work is going to be captured inside another element of the piece, such as in the grooves of door rails and stiles, there is no real need.
In terms of sourcing veneered panels, you can make your own using basic veneering techniques, or have them made for you by a reputable manufacturer. This will give you access to a wide range of species, core material and thicknesses. It also means you don’t need to invest your funds in veneer pressing equipment. Let’s look at some other factors to account of.
Choosing edging material
Solid wood edgings can be as little as a layer of commercial veneer, or you can glue on substantial sections of stock. Choosing contrasting species for edgings can also give an immediate and striking visual effect to tabletops and cabinetry.
The location of panel edges on a piece will inform how much protection is needed. For example, the edge of a tabletop will require a more robust edge than an applied drawer front on a small jewellery chest.
If you plan to shape or profile your edges then you’ll need more material to work with. You can also make a thinner panel look more substantial by adding thicker edging. This can reduce the cost and mass of the piece whilst retaining visual weight.

1. Gluing a hardwood spline into grooves cut into edging and board gives a strong join. Use a blue tape shim to create the offset. 2. Splined joinery glued and trimmed.
There are limitations to bear in mind however. If for example you are applying a mitred border to a tabletop, remember the border is solid wood and will move with seasonal change. Too much width in the edging and you will soon have exposed cracks at the mitres.
When machining stock I always add additional length to allow me to trim the panel to final size and have perfectly clean seams at the edges. Remember also to make your edging material a little thicker than your panels. This will ensure you completely cover the exposed panel edge and give you some material to flush down.
Glue. This is the quickest and simplest way to join solid edging to panels. For thicker panels, there is enough glue surface area for the joinery to be sound.
Machined joints. There are router bit sets available that cut mating profiles on the edging and the panel. Unless you do a lot of veneered panels, this may not be a justifiable expense. Take the time to accurately set up each bit and you’ll be able to run off many metres of edging joinery very quickly. An example of such a set is CMT model number 855-510-11. Tongue and groove or slot cutter sets can achieve a similar effect.
Biscuits or dominos. For these I use the same settings on the tool, but apply a layer of blue tape to the panel. This acts as a shim to slightly raise the cut, ensuring that when the edging is glued on there is a little material overhanging to be flushed down.
Splines. Make a longitudinal spline from solid hardwood, run a slot in both the panel and the edging to house
the spline, and you now have a fast, simple and strong joinery method.
Use the blue tape shim trick as described above for the same effect to ensure success (photos 1, 2). Depending on the size of the workpiece I cut the slots either on the tablesaw or with a router. It’s easier to run the slots in a large panel using a slot cutter in a handheld router than at the tablesaw for example.
Gluing and clamping
Depending on the size of the pieces being edged, you may want to consider the open time of your glue. I generally use common off-the-shelf PVA glues.
Clamping strategy is crucial for achieving a seamless transition between the veneer and the edging. Careless clamping can easily pull the edging away from the edge of the panel and leave an unsightly glue-line.

3. Clamping strategies left to right: G-clamps, blue tape, edge-banding clamps.
I have used blue tape successfully, particularly with thin edging. Apply the tape over the edging and put some tension on each end prior to fixing it down to the panel. For square and straight panels and edges I routinely use my parallel jaw clamps. Specialty clamps are available that have two soft-jaw cam-shaped heads. Slide the clamp heads over the edging onto the panel and tighten the handle. As you put tension on the clamp thread, the cam heads grip onto the panel surface and the edging is held in place (photo 3).
If you are edging a piece that is curved or doesn’t have a square surface to clamp onto you can use a mating piece to square it off. Pull the clamps tight and the matching profile will allow even pressure to be applied (photos 4, 5, 6).

6. Using the mitred offcut to create a square clamping surface on this long mitred desk component.
7. Clamping edges to both long sides of a desk panel. The green tape captures glue squeeze-out.
To make clean-up easier, I also apply a line of green or blue tape along the edge to capture any glue squeeze-out (photo 7).
Flushing the excess
I generally make my edging stock 1–2mm thicker than the panel and use one of the methods described below to flush the excess down.
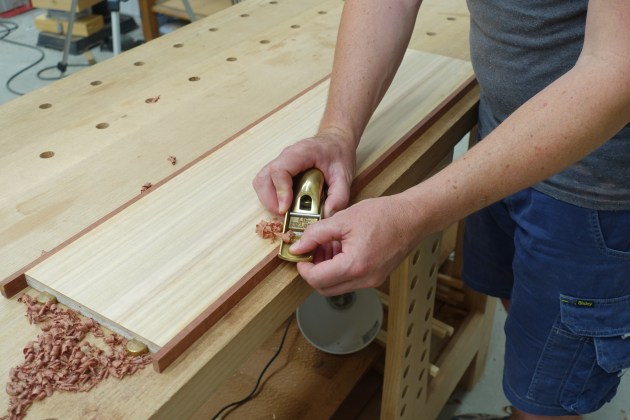
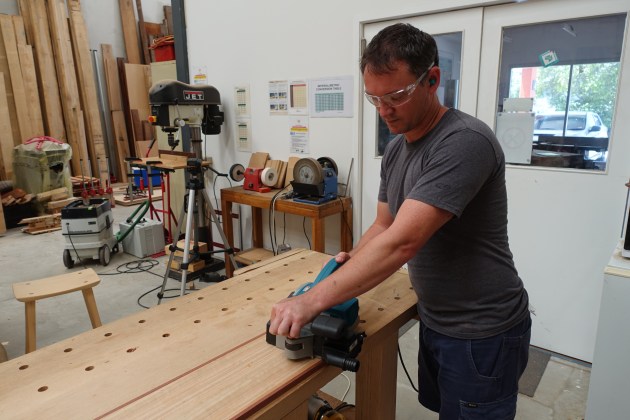
8. Using a block plane to remove the bulk of the excess.
Handplane. With a block plane set for a heavy cut you can quickly bring edgings down to very close to the surface (photo 8). The remainder can be brought down with either a card scraper or, with a good dose of skill and confidence and a cambered iron in a finely set block plane, you can go all the way with a hand plane.
Keep the heel of the tool over the panel to avoid sloping off the edge and digging in, then watch the mouth of the tool to see where the shaving stops due to the camber. Traverse the tool so this point exactly follows the seam between the edging and the veneer.

9. Simple router jig for flushing the excess.
Trim router jig. This consists of a two-layered supplementary base that allows the router to traverse the surface with a straight bit set to cut exactly, or just above the surface (photo 9).
Edge-lipping planer. A very handy Virutex power tool has been developed for just this purpose. If you work with a lot of veneered panels, it’s a worthwhile investment.
Sanding. This is also an option, just be careful that you don’t sand through the veneer as you bring the solid edging excess down.

10. The author’s Macassar ebony jewellery boxes edged in Gabon ebony. Photo: Frank Pronesti
Casework edging
When making case pieces, you can also use these techniques to disguise corner joinery such as rebates. I’ve done this on decorative jewellery boxes like the ones shown in photo 10, through to full size cabinets to great effect.

11. Small square rebate at the corner of a case piece.
First, make your case pieces by applying some edging and go through the process of flushing the faces and cutting the panels to size. Then, cut the rebates in the corners using a dado stack or a router bit. Set the size of the rebate so that when the two panels go together, the resulting exposed rebate is the same in width and depth so you have a consistent space to fill (photo 11).

12. Clamp edging in with blue tape.
Assemble your carcase and while the glue is cooking off, machine some square edging stock. Glue it in place and ‘clamp’ with blue tape, trim the ends off with a flush-cut saw and flush down the edges as previously described (photos 12, 13).

13. Clean and striking finished result.
Applying a mitred frame
Using a veneered panel as a tabletop allows you to take advantage of a lack of seasonal movement, decorative effects and easy access to a large flat surface in your construction. A simple way to cover the edges of a rectilinear table is to apply a mitred frame to the edges. Mill your stock to the desired thickness. In terms of width, I generally don’t go any wider than 75mm, to prevent the gaps opening up due to seasonal movement.

14. Use a mitred offcut to register your frame components
The critical issue here is to cut the pieces to a precise length. Cut one end at 45°, then register it in place on the edge of your panel, using a 45° offcut as a guide to ensure you register it right at the corner (photo 14).
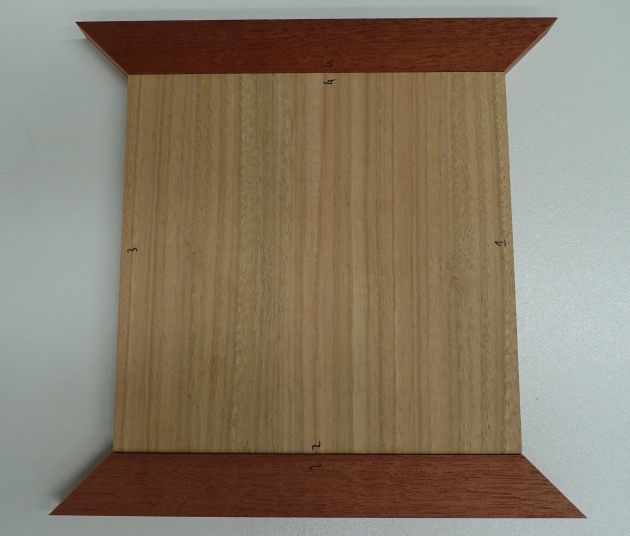
15. Glue and clamp two opposite edges, the others in a second glue-up.
Use a knife or pencil to scribe the corner at the other end and cut. Glue two opposite edges on first, then the two other edges in a second glue-up (photo 15).
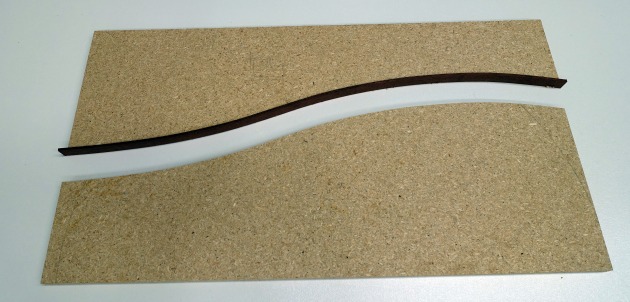
Curved tabletops
For circular or elliptical tabletops, you can clamp on thin flexible edging (I usually use stock milled to approximately 3mm thick) with either blue tape or a ratchet strap. In this case, have a ready source of timber wedges. Applying two opposing wedges in spaces where the strap meets the ratchet can provide enough assistance to ensure you get consistent clamping pressure around the whole circumference.
Simple skills and basic tooling which most of you may already have access to, along with some of the tips I’ve
described here, can open up a whole new side to your woodworking.
Damion Fauser is a furniture designer/maker who lives in Brisbane. He teaches woodwork from his Darra workshop. Email: damion@damionfauser.com.au