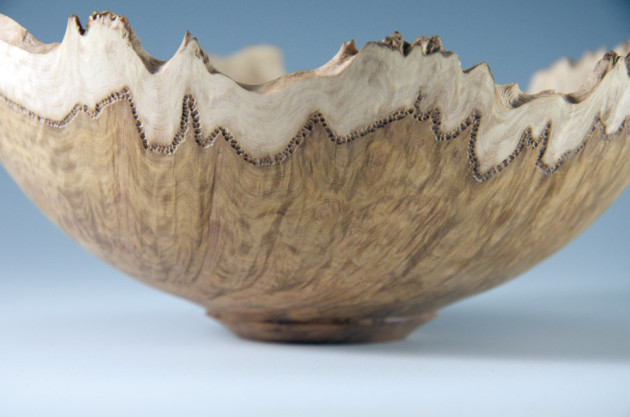
Turning and Carving a Burl Bowl
Words: Neil Turner Photos: Suellen Turner
Living in Western Australia I’ve been lucky to have ready access to some amazing burl timbers. The injuries or insect infestations that can cause the round knobbly growths you sometimes see on trees are good luck for woodturners because of the amazingly figured wood they can contain. Jarrah, York gum, red morel and salmon gum are just a few of the local tree species they can be found on.
I have always enjoyed turning burl timber because what can be revealed is a wonderful surprise. However occasionally some lack that wow factor so over the years I have explored subtle ways to enhance nature’s beauty.
Burl selection
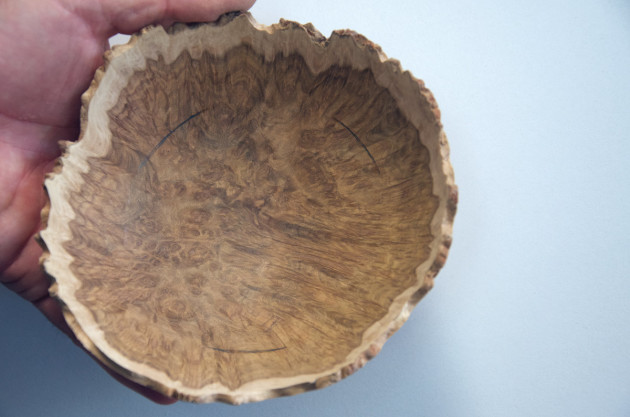
The burl shown in photo 1 is 200 x 290 x 80mm. I always try to select burls with a nice dome shape, that are reasonably round and free of white ant attack. The dome shape is important because it’s easier to get your high and low points in the same plain.

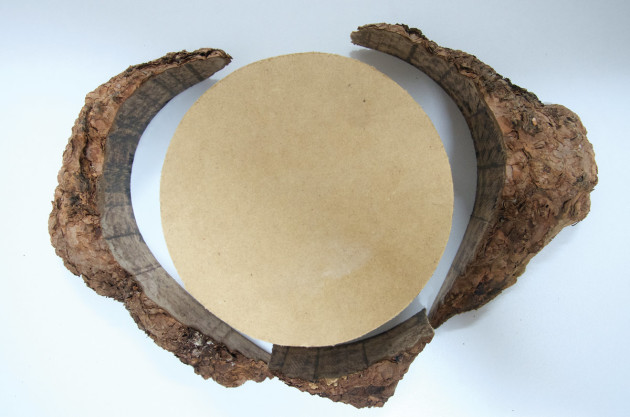
Marking out
I have several round templates on hand that I use to mark what I need to trim off with the bandsaw. For this size burl I’m using a 150mm dia template. I’m not too aggressive about this so not too much gets cut off—this leaves me the the maximum amount of wood to work with. Any excess will later be removed in the turning process.
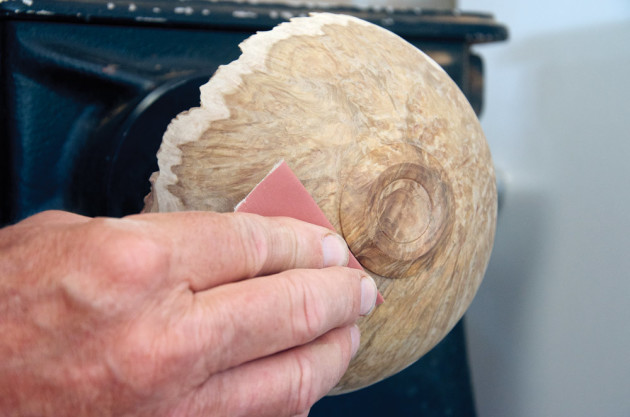
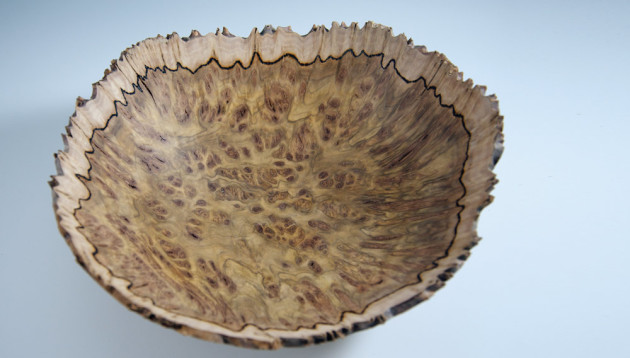
I almost always turn burl timber with the sapwood at the rim of the bowl. This is for two reasons: the sapwood frames the bowl well, and in my opinion the prettiest wood is in the bottom. I normally remove bark the bark at the centre with a mini carver and a Merlin tungsten carbide disk to make good contact for the spur drive. In this case the bark was left on as Goldfields yorkgum burl tends to hold on very well and may provide a contrast with embellishment I have in mind (photos 2, 3).

Orientation
I always turn burls between centres. This enables me to adjust the tailstock to position the burl so the high and low points are in the same plane. When I’m happy the burl is set up correctly the headstock is locked (if possible). Grab the burl and rock it to and fro while tightening the tailstock. This drives the spur centre into the wood. Unlock the headstock (photo 4).
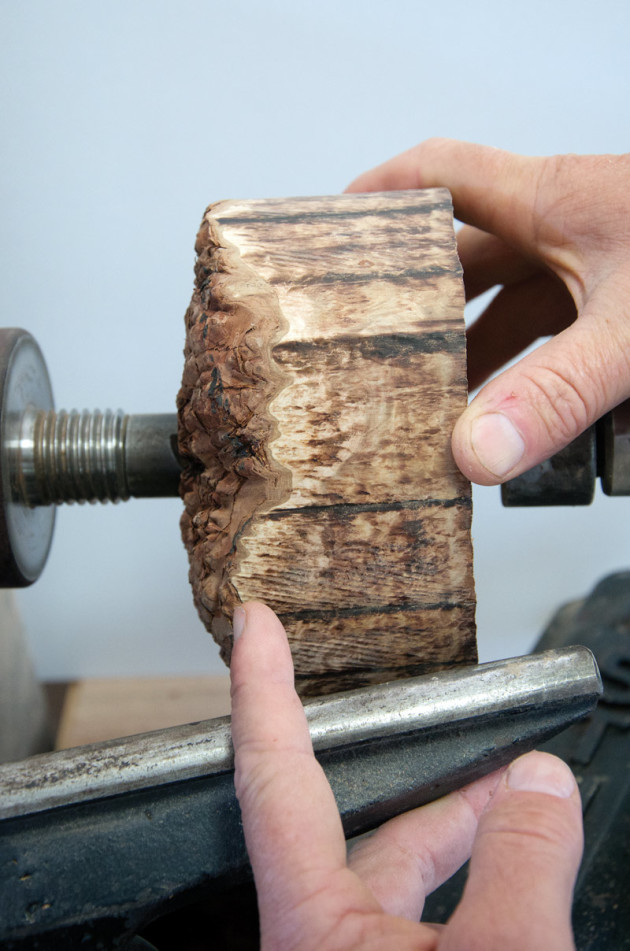
Turning
While I’m doing the initial cuts with the bowl gouge I’m continually stopping to tighten the tailstock because the burl can work loose. Because the shape is irregular, start on a low speed, one you feel comfortable with. As the piece becomes more balanced you can increase the speed. I rough turn the burl so it’s round, checking high and low points are in the same plane and adjusting if necessary (photo 5).
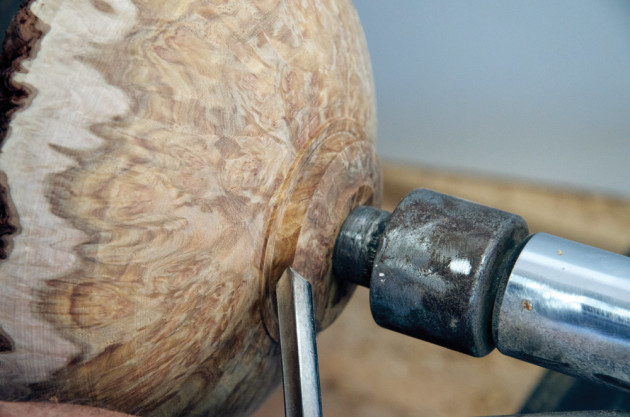
Turn a nice flowing continuous curve with a 5 or 6mm spigot for the scroll chuck. This spigot will be the foot for the bowl to be turned later.
Leave a small amount of wood (1–2mm) where the outside curve meets the spigot. This is because the jaws of the chuck bruise the wood, leaving marks that have to be removed when the base is completed. If I don’t make allowance for this, the curve will change direction near the base giving the bowl a dumpy appearance (photo 6).
The final cuts on the outside curve are made with a 3/4 inch deep fluted bowl gouge using a shearing cut to leave a very smooth surface that will require minimal sanding. No sanding is done at this stage, the outside of the bowl is sanded after the base has been turned (photo 7).

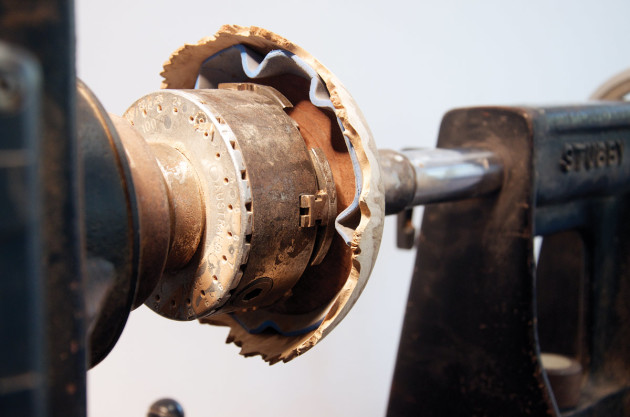
Once the outside shape and the spigot have been completed, the inside of the bowl is ready to be turned (photo 8).

Where possible I ‘bowl save’ (remove the centre). Burls and wood in general are a precious resource and a shame to turn them all into shavings.
Mounted in the scroll chuck with the tailstock up for safety, check the outside is running true. If not, true up the outer curve. This ensures an even wall thickness is achieved when turning the inside.
Wall thickness is a personal preference however I think the bowl weight should match its size. Lighter is better. For a 150mm diameter bowl I would suggest a wall thickness of 3mm. It’s vitally important to have even wall thickness because of the uneven depth of the rim.
Using a 3/4 inch deep fluted bowl gouge turn the inside shape. Use the normal turning techniques, bevel rubbing, sharp tools and don’t force the chisel (photo 9).
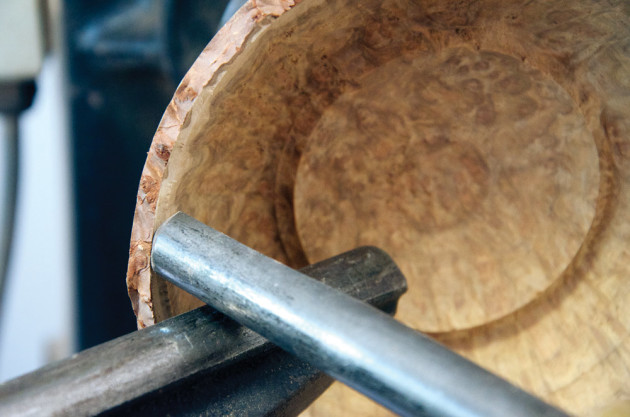
Take care not to damage the rim when turning the final wall thickness. Make sure you leave enough wood in the bottom of the bowl to support the wall (photo 10).
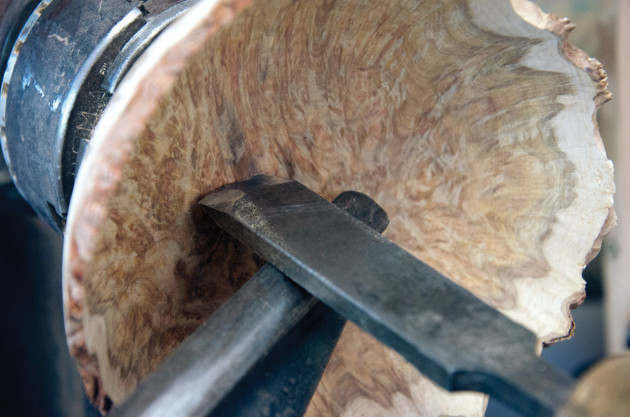
I use a rounded skew chisel to remove any excess ridges (photo 11).
At this point I power sand the inside of the bowl, taking care not to round the edges. I stop the lathe when it comes to sanding the higher points. Normally I would sand to 320 grit for a lacquer finish or to 800 grit for oil (photo 12). Normally I use lacquer to finish burl bowls.
Base
I use two techniques to finish the base. Turn a dome on a piece of scrap wood to match the inside curve (photo 13). (DSC8592) Place a 3mm piece of foam between the dome and the bowl. Tighten the tailstock (photo 14).
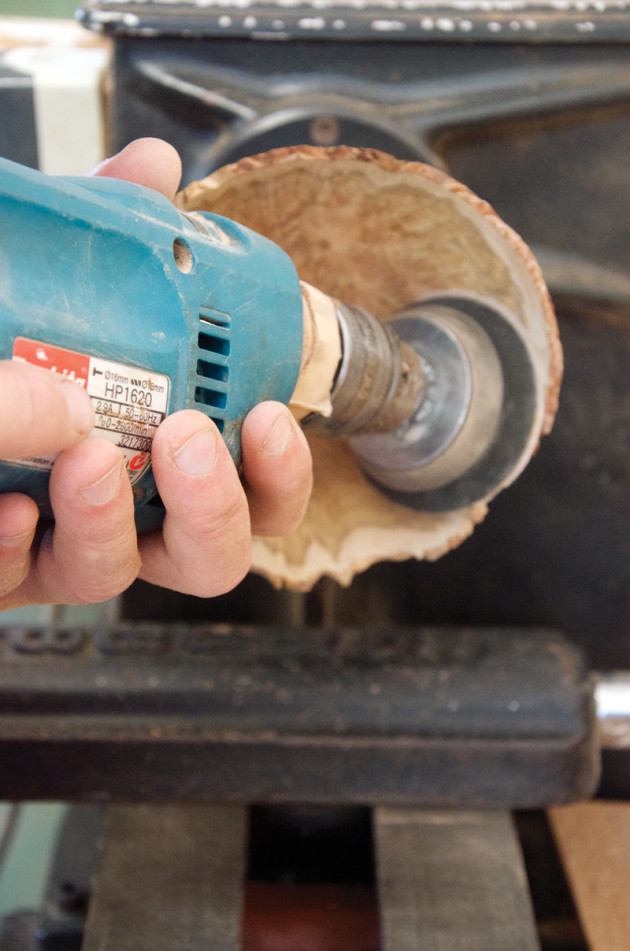
Using a small detail gouge complete the foot. The waste remaining around the tailstock centre can be carved away using a hand chisel or round burrs in a Dremel tool, then sand (photo 14).
The second technique of using hot melt glue was shown to me by WA turner Vaughn Richmond. The advantage of this method is you can totally finish and sand the base. The trick is not to use too much glue or you will have an unwanted piece of scrap wood in your bowl.
Place the bowl onto the dome shape, bring up the tailstock and lightly tighten. Lock or hold the headstock and then turn the bowl by hand. Where the dome makes contact with the bowl a rub line will appear. Mark this with pencil, as this will show you where to place the small beads of glue. I normally use three 3mm round beads of glue.
Centre the bowl on the tailstock, wind forward until contact is made with dome and wait for the glue to set before turning.
The size of the base is a personal choice but for decorative bowls such as this I prefer a smaller base as I think it gives an elegant look. The foot on this bowl has a diameter of 34mm. Power sand the outside shape, but hand sand the detail of the foot (photo 15).
Embellishing burl timbers
Burl timbers can be highly figured however it is possible to embellish them without overdoing it. There are two techniques I find work well.
Sometimes I use a 1mm round burr to etch out one growth ring between the sapwood and the tree wood (photo 16).
Or I use the same size burr stipple the sapwood. This another technique I learnt from Vaughn Richmond (photo 17).

A pyrography tool can also be used on the rim or to highlight the definition between the sapwood and the tree wood. Use this technique very sparingly as it can be very overpowering (photo 18).
In summary, burls can reveal extraordinary figure when turned, however it’s not enough when turning or carving a piece to rely on the beauty of the wood alone. As with any turning you need to aim for smooth appealing lines, even and not-too-thick walls and bases. Even with highly figured timber it’s still possible to add subtle texture and markings that will enhance but not overpower your shapes.
Reprinted from Australian Wood Review, issue 78. For more information about Neil Turner see www.neilturnerartisan.com.au